A couple of years ago, I made a rookie mistake that still makes me cringe. I had my smart home IoT devices, my personal workstation, a Raspberry Pi cluster, and a NAS all sitting on the same flat network. One afternoon, a compromised cheap smart plug — yes, a $9 plug from a no-name brand — started broadcasting garbage traffic that slowed my entire home network to a crawl. Everything was on the same Layer 2 domain, so there was no fence between the “sketchy” and the “sensitive.” That was the day I finally got serious about VLANs.
If you’re running a home lab in 2026, whether it’s a modest setup with a single managed switch or a full rack with hypervisors, VLANs (Virtual Local Area Networks) are no longer optional — they’re the foundational layer of any sensible network architecture. Let’s think through this together, step by step.
What Exactly Is a VLAN, and Why Should You Care?
A VLAN is a logical segmentation of your physical network. Think of it like this: instead of building separate physical walls between rooms in a house, you put up invisible partitions that are enforced by your network hardware. Devices in VLAN 10 simply cannot talk to devices in VLAN 20 unless you explicitly route traffic between them — usually through a firewall that can inspect and filter that traffic.
Here’s a quick breakdown of why this matters in a real home lab context in 2026:
- Security isolation: Your IoT devices (smart lights, thermostats, cameras) are notoriously insecure. Putting them in their own VLAN means a compromised device can’t reach your NAS or workstation.
- Traffic management: Lab experiments — like running a noisy network stress test — won’t bleed into your family’s streaming sessions.
- Professional skill-building: VLANs are used in virtually every enterprise environment. Practicing at home directly translates to real-world career value.
- Compliance and segmentation best practices: Even in home environments, separating guest Wi-Fi from personal devices is now a widely recommended security baseline by organizations like NIST and CISA.
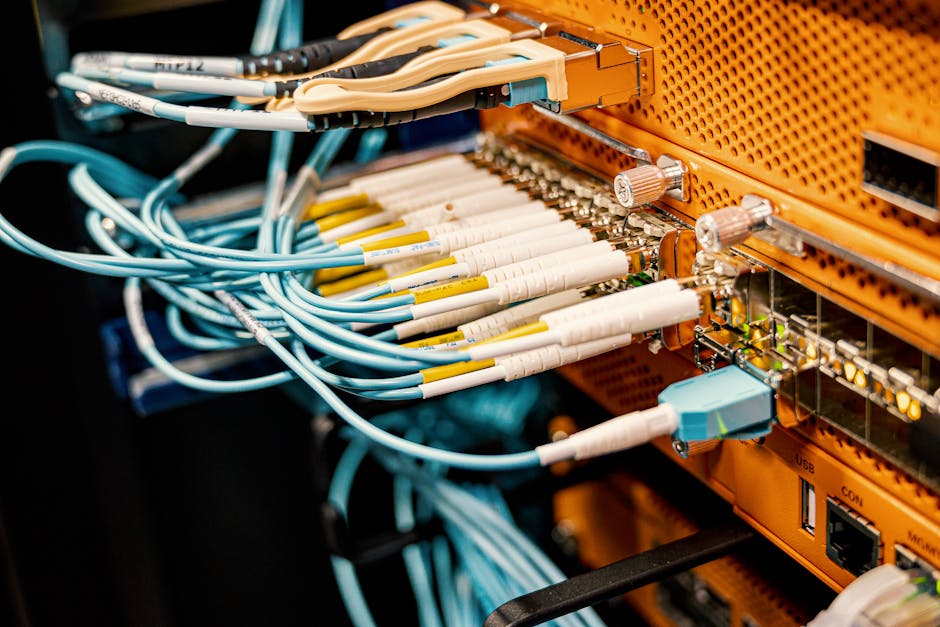
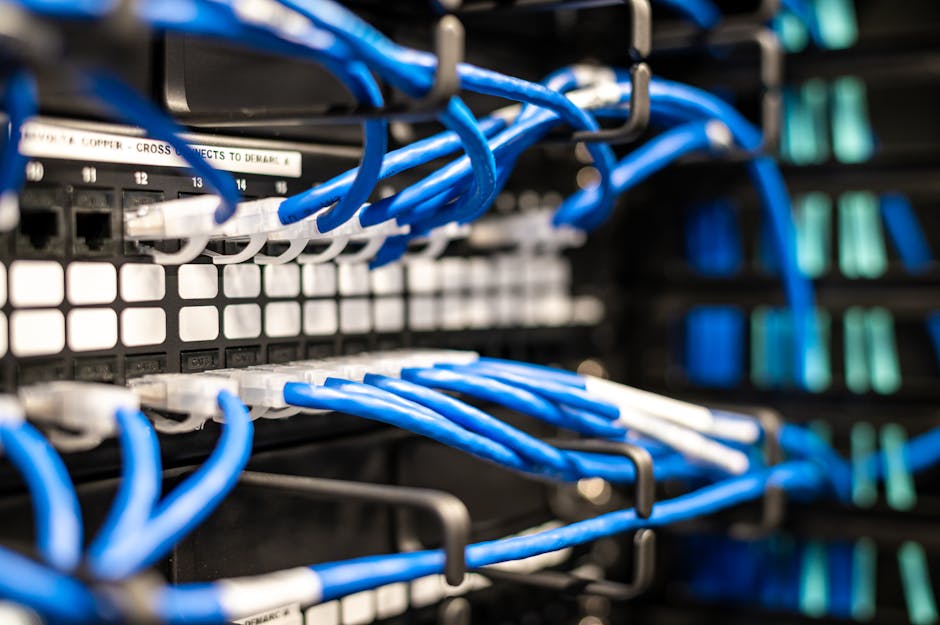
The Hardware You Actually Need
Here’s where people often get confused. VLANs require managed switches — your typical unmanaged $20 switch from a big-box store won’t cut it. In 2026, the good news is that managed switches have become surprisingly affordable. Popular choices in the home lab community include:
- TP-Link TL-SG108E (~$30): An 8-port smart switch that’s become the go-to entry-level option. It supports 802.1Q VLAN tagging and has a web-based GUI.
- Netgear GS308E (~$35): Similar spec to the TP-Link, with a slightly cleaner interface and solid firmware reliability.
- Ubiquiti UniFi USW-Lite-8-PoE (~$109): If you’re serious about your lab, UniFi’s ecosystem gives you a centralized controller that manages switches, APs, and routing in one dashboard — a massive time saver.
- MikroTik CRS series: For the tinkerers who love granular control. Extremely powerful, but the RouterOS learning curve is real.
For routing between VLANs, you’ll also need either a router-on-a-stick (a single router port configured with subinterfaces) or a Layer 3 switch. Popular software router options in 2026 home labs include OPNsense and pfSense — both running beautifully on a Protectli vault or even a used mini PC like an N100-based unit you can grab for under $150.
Step-by-Step: Setting Up VLANs (Using OPNsense + a Managed Switch)
Let’s walk through the most common home lab scenario: OPNsense as your firewall/router, connected to a managed switch via a trunk port, with multiple VLANs distributed to devices and wireless APs.
Step 1 — Plan your VLAN IDs and subnets first. Never skip this. A common 2026 home lab layout looks like this:
- VLAN 1 — Management (switch/AP admin access only) — 192.168.1.0/24
- VLAN 10 — Trusted Devices (workstations, laptops) — 192.168.10.0/24
- VLAN 20 — Lab/Servers (VMs, containers, NAS) — 192.168.20.0/24
- VLAN 30 — IoT Devices — 192.168.30.0/24
- VLAN 40 — Guest Wi-Fi — 192.168.40.0/24
Step 2 — Configure VLANs on OPNsense. Navigate to Interfaces → Other Types → VLAN. Create a new VLAN for each ID, assigning your LAN parent interface (e.g., igb1). Then go to Interfaces → Assignments and assign each VLAN as a new interface. Give each a meaningful name (TRUSTED, LAB, IOT, GUEST) and configure their static IP as the gateway for that subnet.
Step 3 — Enable DHCP on each VLAN interface. Go to Services → DHCPv4 and configure a pool for each VLAN interface. For example, VLAN 30 (IoT) might serve addresses from 192.168.30.100 to 192.168.30.200.
Step 4 — Configure firewall rules between VLANs. This is the critical part most tutorials rush past. By default in OPNsense, inter-VLAN traffic is blocked. You need to explicitly allow what you want. A sensible baseline:
- IoT VLAN → Block all access to Trusted and Lab VLANs. Allow only internet access.
- Guest VLAN → Block all access to all internal VLANs. Allow internet only.
- Trusted VLAN → Allow access to Lab VLAN (for managing servers). Allow internet.
- Management VLAN → Restrict access tightly. Only specific admin IPs should reach it.
Step 5 — Configure trunk and access ports on your managed switch. Connect your OPNsense LAN port to the switch’s uplink port and configure it as a trunk port (tagged for all VLANs). Then configure each downstream port as an access port assigned to the appropriate VLAN. For example, the port your NAS plugs into gets assigned to VLAN 20 (untagged).
Real-World Examples: How Home Lab Enthusiasts Are Doing It in 2026
The global home lab community has exploded in the post-pandemic era, and in 2026, platforms like Reddit’s r/homelab (now over 1.2 million members) and the ServeTheHome forums regularly showcase sophisticated VLAN setups. A common pattern emerging this year is the “zero-trust lite” home architecture — essentially applying enterprise zero-trust principles at a home scale. This means even trusted devices must be explicitly authorized to communicate with specific lab services, rather than having open inter-VLAN routing.
In South Korea, where high-density apartment living and ultra-fast fiber (10Gbps residential tiers are now mainstream in Seoul) makes home networking both critical and complex, enthusiasts on communities like ppomppu and clien frequently discuss multi-VLAN setups optimized for both gaming latency and media server performance. A popular configuration there pairs a MikroTik hEX router with an affordable IPTime managed switch — a combo that costs under ₩150,000 ($110 USD) but delivers enterprise-grade segmentation.
In North America and Europe, the Ubiquiti UniFi ecosystem remains the dominant choice for home labbers who want a polished GUI without sacrificing functionality. Ubiquiti’s 2026 firmware updates have made VLAN provisioning through their Network app even more intuitive, with a visual topology map that shows exactly which devices are on which segment — a huge win for beginners.
Common Mistakes to Avoid
- Forgetting to set a native/untagged VLAN on trunk ports: Without this, untagged traffic falls into VLAN 1 (management), creating a security hole.
- Allowing all inter-VLAN traffic by default: VLANs only help if your firewall rules actually enforce the segmentation.
- Not tagging management interfaces properly: Accidentally leaving switch management on VLAN 1 accessible from IoT devices defeats the entire purpose.
- Overlooking wireless VLAN tagging: Your Wi-Fi AP needs to support 802.1Q tagging and multiple SSIDs, each mapped to a different VLAN. Most modern APs (Ubiquiti, TP-Link EAP series) do this well, but cheap consumer routers typically do not.
Realistic Alternatives If You’re Not Ready for Full VLAN Setup
Look, full VLAN configuration has a learning curve, and not everyone has a managed switch or a dedicated firewall box yet. That’s completely fine. Here are pragmatic stepping stones:
- Guest network isolation: Most modern consumer routers (ASUS, TP-Link Archer series) have a guest Wi-Fi feature that provides basic Layer 2 isolation. It’s not a true VLAN, but it keeps IoT devices off your main network.
- Separate physical router for IoT: A cheap travel router in AP mode can create a completely separate network segment for smart home devices. Crude, but effective.
- Start with a TP-Link EAP + TL-SG108E combo: This is probably the lowest-cost true VLAN setup possible in 2026, at around $70 total. The Omada software controller (free, self-hosted) ties it together and has decent VLAN support.
- Use a Raspberry Pi as a VLAN-aware router: Pi 5 with a USB 2.5GbE adapter can run OpenWRT and handle basic VLAN routing for a small lab. Not production-grade, but excellent for learning.
The goal isn’t perfection from day one — it’s making your network meaningfully more secure and organized than a flat single-subnet setup. Even segmenting just IoT from everything else is a massive improvement.
Editor’s Comment : Setting up VLANs in your home lab isn’t just a nerdy exercise — it’s genuinely one of the highest-ROI investments you can make in your home network’s security and manageability. In 2026, with IoT devices proliferating and remote work still deeply embedded in our lives, the risk of a flat network is real and measurable. My honest advice: start simple. Get a TP-Link smart switch, read through the OPNsense VLAN documentation on a weekend afternoon, and segment just your IoT devices first. Once you feel the satisfaction of watching clean, isolated traffic in your firewall logs, you’ll wonder how you ever lived without it. The rabbit hole goes deep — and it’s a very rewarding one to fall into.
📚 관련된 다른 글도 읽어 보세요
- 중고 서버 구매 홈랩 구성 팁 2026 — 비용 절반으로 나만의 데이터센터 만들기
- Precision 3D Printing Resolution Breakthroughs in 2026: What’s Actually Changed (And What Hasn’t)
- 항공우주 부품 적층 제조(3D 프린팅) 적용 사례와 품질 검증 방법 완벽 정리 [2026년 최신]
태그: [‘home lab VLAN setup’, ‘VLAN configuration guide 2026’, ‘OPNsense VLAN tutorial’, ‘home network segmentation’, ‘managed switch VLAN’, ‘home lab networking’, ‘IoT network security’]
Leave a Reply