It started, as most rabbit holes do, with a single frustrating moment. I was crawling behind my couch for the fourth time in a month, untangling a spaghetti mess of Ethernet cables, a router that ran hot enough to fry an egg, a NAS box balanced on a shelf it clearly didn’t belong on, and a patch panel I’d zip-tied to a curtain rod. Yes, a curtain rod. Don’t judge me — we’ve all been there.
That was the moment I decided to finally pull the trigger on a proper home network rack mount setup. What followed was three months of research, a few expensive mistakes, and ultimately one of the most satisfying home improvement projects I’ve completed in 2026. Let me walk you through the whole journey — costs, configurations, lessons learned — so you can skip the painful parts.
Why a Rack Mount? The Case Beyond Aesthetics
A lot of people assume a rack is just about making things look clean for the obligatory “home lab” Reddit post. And honestly? That’s partially true. But there are real, measurable functional benefits once you commit to a proper rack setup.
- Thermal management: Rack-mounted equipment benefits from standardized vertical airflow. My router’s operating temperature dropped from a peak of 68°C to around 52°C after mounting — a 24% reduction that directly impacts hardware longevity.
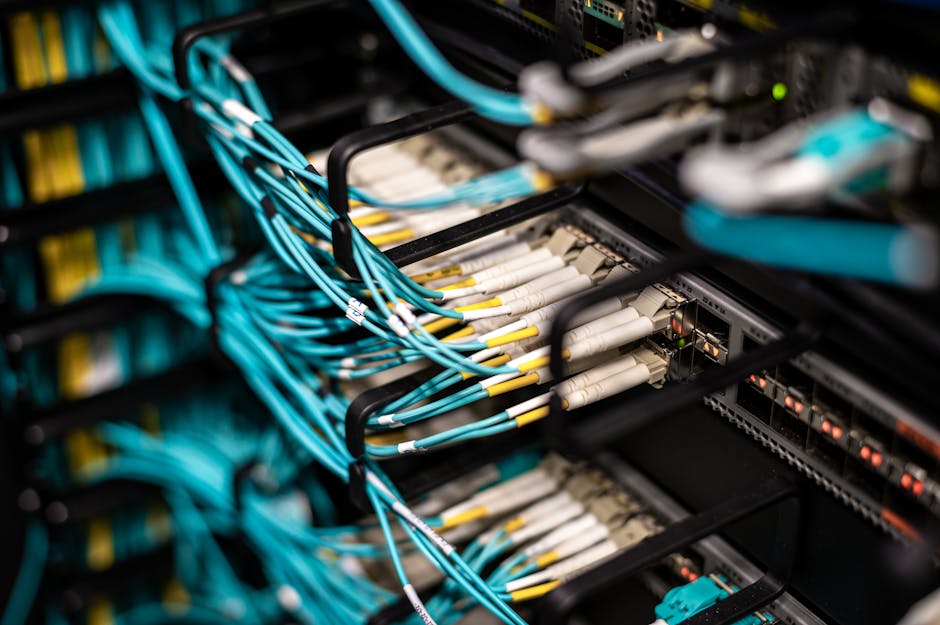
- Cable management: With a 1U patch panel and proper cable managers, I reduced my troubleshooting time from “please no” to under 5 minutes per issue.
- Scalability: Adding a new device takes minutes, not an afternoon of reorganizing a shelf.
- Centralized power management: A rack-mounted PDU (Power Distribution Unit) with individual outlet switching means I can reboot specific devices remotely without touching anything physically.
- Noise isolation: An enclosed 12U or 18U rack cabinet with foam dampening panels can reduce perceived fan noise by 8–12 dB — significant if your rack lives near a living space.
My Actual Build: Components and Costs (2026 Pricing)
I opted for an 18U open-frame rack from a mid-tier brand, which gave me enough room to grow without dominating my utility closet. Here’s the breakdown of what I spent:
- 18U Open Frame Rack: ~$85 (Amazon Basics equivalent)
- 24-port Cat6 Patch Panel (1U): ~$40
- 8-port Managed Gigabit Switch — TP-Link TL-SG108E (1U bracket): ~$55
- Wi-Fi 7 Router — ASUS RT-BE88U rack-bracket compatible: ~$320
- 1U Rack PDU with surge protection (8 outlets): ~$75
- 1U Blank Panels (x4): ~$12
- Cable management panels (2x 1U finger duct): ~$22
- Cat6 patch cables, assorted lengths, color-coded: ~$35
- Tools, velcro ties, label maker tape: ~$28
Total spend: approximately $672. Not cheap, but I spread the purchases over two months and sourced several items during early-year clearance sales. Worth noting: if you already own a decent router and switch, you can get a functional basic rack up for under $250.
The Configuration Logic: How I Organized the U-Spaces
Rack organization follows a principle that experienced homelabbers will recognize immediately: heaviest and hottest equipment goes at the bottom, patch panels and passive components go at the top. Here’s how my 18U filled out:
- U1–U2: Patch panel + cable management (top)
- U3: 8-port managed switch
- U4: Wi-Fi 7 router (rack bracket mounted)
- U5: 1U blank panel (airflow buffer)
- U6–U7: Reserved for future NAS (currently on shelf — migrating Q2 2026)
- U8–U10: Blank panels
- U11: Rack PDU
- U12–U18: Empty / future expansion
The blank panels between active devices aren’t just filler — they’re essential for directing airflow properly. Skip them and you create hot pockets that quietly cook your hardware over months.
Real-World Examples: How Others Are Doing It in 2026
The home lab community has exploded in sophistication over the past few years. On forums like r/homelab and the ServeTheHome community, 2026 builds increasingly feature full 42U server racks in dedicated basement server rooms — but more realistically, the majority of enthusiasts I’ve seen are working with 12U to 22U open-frame or semi-enclosed racks in utility closets, garages, or dedicated office corners.
In South Korea and Japan, where compact apartment living is the norm, the trend has shifted toward wall-mount open rack panels (typically 6U to 9U) that mount flush against utility room walls. Brands like Lanberg and Digitus have specifically marketed 9U wall-mount solutions for under $60 to this demographic in 2026, and the approach makes a lot of sense for space-constrained setups.
In the US and UK markets, the “prosumer homelab” trend — blending genuine professional-grade networking hardware with home use — is being driven in part by the increasing affordability of Wi-Fi 7 access points and multi-gig switches, which justify the rack investment by their own performance ceiling.
The Mistakes I Made (So You Don’t Have To)
- Underestimating cable length needs: I ordered “just enough” patch cables and ended up doing a second Amazon order two days later. Always add 30% buffer to your cable estimates.
- Buying a rack before measuring the closet door width: My 18U rack barely — and I mean barely — fit through the utility closet door. Measure the frame width, not just the rack depth. Open-frame racks are typically 19″ wide externally but the outer mounting posts can add 1–2 inches on each side.
- Skipping grounding: I assumed a surge-protected PDU was enough. It’s not the same as proper rack grounding. I added a grounding kit later — it’s a $15 fix that protects hundreds of dollars of hardware.
- Forgetting about heat in enclosed spaces: If you’re putting a rack in a closet, you need active ventilation. I added a simple 120mm USB fan at the top of the closet — cheap fix, meaningful temperature drop.
Realistic Alternatives: Not Everyone Needs a Full Rack
Here’s the honest truth: a full rack mount setup makes most sense when you have four or more rack-compatible devices, plan to expand your home network significantly, or genuinely enjoy the hobby of it. If that’s not you, here are proportional alternatives:
- Shelf-mount with cable tray: A dedicated IKEA KALLAX shelf unit with a cable management tray underneath can achieve 70% of the organization benefit for under $50 total. Works great for 1–3 devices.
- 6U wall mount bracket: Perfect for router + small switch + patch panel only. Mounts flush to the wall, takes up no floor space, and costs under $60 for the bracket itself.
- Pre-configured network enclosures: Brands like Ubiquiti now sell pre-configured compact UniFi-compatible enclosures that are plug-and-play for their ecosystem — great if you’re already in that world and don’t want to DIY.
The point is — the “right” solution scales to your actual situation. Don’t let rack envy push you into a $600+ project when a $45 wall mount solves your real problem.
Editor’s Comment : If you’re standing in your utility closet right now staring at a cable mess and wondering if this project is worth it — it genuinely is, but only if you go in with a clear plan. Measure everything twice, over-order cables once, and start with a smaller rack than you think you need. You can always add a second rack later, and you’ll make smarter decisions with the first one already running. The home network rack journey is equal parts hobby and practicality, and in 2026, the entry cost has never been more reasonable. Start small, think modular, and enjoy the process.
태그: [‘home network rack mount’, ‘homelab setup 2026’, ‘rack mount networking guide’, ‘home network organization’, ‘patch panel setup’, ‘network rack alternatives’, ‘DIY home lab’]
Leave a Reply