So here’s a story that’ll sound familiar if you’ve ever gone down the home lab rabbit hole. A buddy of mine — let’s call him Jake — spent a whole weekend building a killer home lab setup. Proxmox VE on a decommissioned Dell PowerEdge, Pi-hole for DNS filtering, a NAS for media, and a growing pile of IoT gadgets. Everything was humming along beautifully… until his smart fridge somehow started interfering with his work VMs. Packets flying everywhere, broadcast storms threatening to ruin his Sunday. He called me in a mild panic at 11 PM asking, “Do I need VLANs?” The answer was a resounding yes, and this guide is essentially the crash course I walked him through that night — expanded, cleaned up, and battle-tested in 2026.
VLANs (Virtual Local Area Networks) are one of those concepts that sound intimidating until you actually set one up and realize you’ve been living wrong this whole time. Let’s dig in together.
Why VLANs Matter in a Home Lab: More Than Just Nerd Points
Before we get into the “how,” let’s anchor the “why” with some real numbers. The average home lab in 2026 now runs anywhere from 8 to 25 connected devices — this is up significantly from the 5–10 device average just four years ago, driven by the explosion of smart home tech, edge computing devices, and sub-$100 mini PCs like the Beelink SER series or the Minisforum UM series that have made spinning up VMs ridiculously accessible.
Here’s the core problem: a flat network (everything on one subnet, say 192.168.1.0/24) means every device can potentially talk to every other device. That’s a security nightmare and a performance issue waiting to happen. Consider this breakdown:
- Broadcast domain pollution: Every ARP request, DHCP broadcast, and NetBIOS announcement hits every device. On a flat /24 with 25+ devices, this noise is measurable — typically 3–8% of raw bandwidth in idle home lab environments.
- Security isolation failure: A compromised IoT bulb can attempt lateral movement to your NAS or VM host. In a flat network, there’s nothing stopping it at Layer 2.
- QoS complexity: Without segmentation, prioritizing your work VMs over your kid’s game console traffic requires complex ACLs on a single subnet — VLANs make this clean and manageable.
- Management clarity: Troubleshooting is dramatically easier when you know “VLAN 30 is IoT” and can isolate captures to just that segment.
The good news? Modern home lab hardware makes VLAN setup surprisingly accessible. Managed switches from TP-Link (their TL-SG108E or the newer SG116E), Netgear (GS308E), and even budget units from Mikrotik’s CSS series all support 802.1Q VLAN tagging for under $50–$80, as of early 2026.
Understanding 802.1Q: The Foundation You Can’t Skip
IEEE 802.1Q is the standard that makes VLANs work across multiple switches and devices. Here’s the conceptual model you need to internalize:
Tagged vs. Untagged Ports: This is where most beginners get tripped up, so let’s nail it.
- Tagged (Trunk) ports: Carry traffic for multiple VLANs simultaneously. The frames include a 4-byte 802.1Q tag in the Ethernet header identifying which VLAN they belong to. Your uplink from switch to router, or switch to hypervisor, is almost always a trunk port.
- Untagged (Access) ports: Carry traffic for exactly one VLAN. The switch strips the tag before sending frames out. Your printer, your game console, your NAS — these connect to access ports. The device itself has no idea VLANs exist.
- PVID (Port VLAN ID): The “native” VLAN for untagged traffic arriving on a trunk. Get this wrong and you’ll have a frustrating mystery where some traffic works and some doesn’t. It’s bitten me personally more times than I’d like to admit.
A practical VLAN plan for a home lab might look like this:
- VLAN 10 — Management: 10.0.10.0/24 — Your switch management interfaces, iDRAC/IPMI, router admin. Tightly locked down.
- VLAN 20 — Trusted LAN: 10.0.20.0/24 — Personal computers, trusted devices, daily drivers.
- VLAN 30 — Lab/VMs: 10.0.30.0/24 — Proxmox hosts, VM workloads, Docker containers.
- VLAN 40 — IoT: 10.0.40.0/24 — Smart home devices, cameras, sensors. Internet access only, no lateral movement.
- VLAN 50 — Guest WiFi: 10.0.50.0/24 — Isolated internet access for visitors.
- VLAN 99 — DMZ: 10.0.99.0/24 — Publicly accessible services like a self-hosted VPN or reverse proxy.
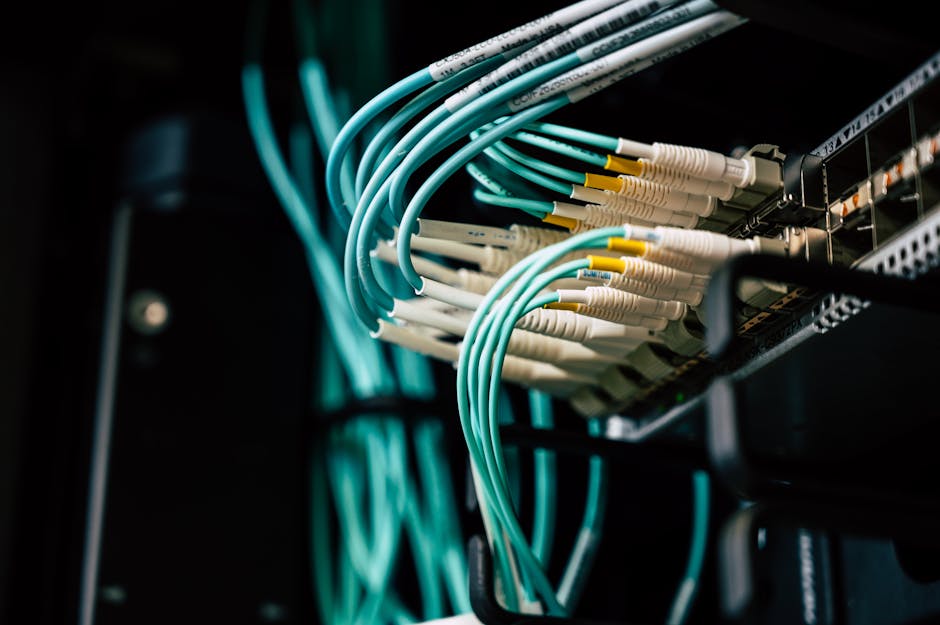
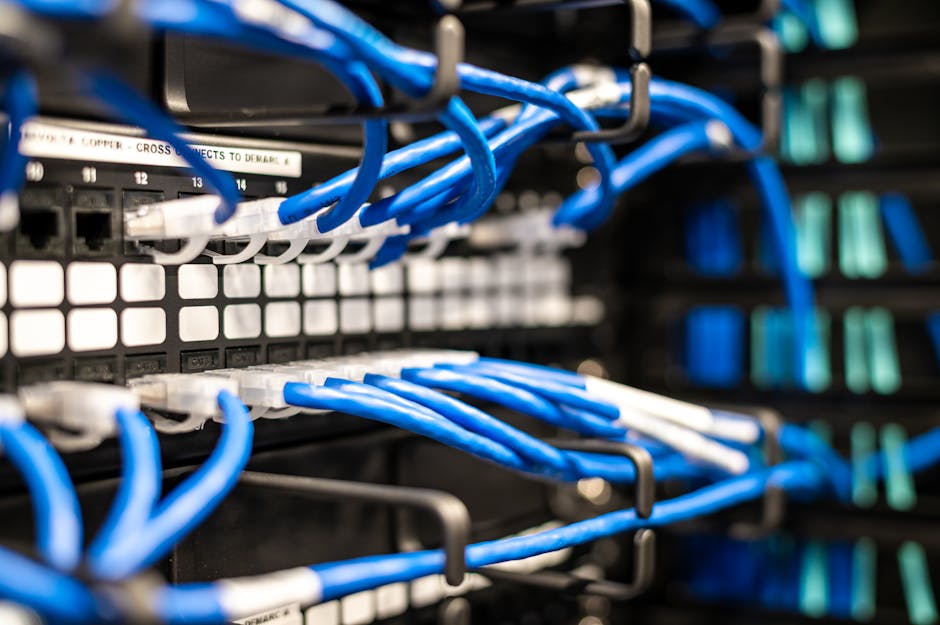
Real-World VLAN Setup: Step-by-Step on Common Home Lab Hardware
Let’s get practical. I’ll walk through the most common home lab stack in 2026: a TP-Link managed switch, a pfSense/OPNsense router (running on a mini PC or dedicated firewall box), and a Proxmox hypervisor.
Step 1: Configure VLANs on your managed switch (TP-Link TL-SG108E example)
Log into the switch web UI (default: 192.168.0.1). Navigate to VLAN → 802.1Q VLAN. Create your VLAN IDs (10, 20, 30, 40, 50, 99). For each VLAN, assign ports as tagged or untagged. The uplink port connecting to your router should be tagged for ALL VLANs. Ports connecting to end devices should be untagged for their respective VLAN only.
Step 2: Create VLAN interfaces on OPNsense/pfSense
In OPNsense (which I’d recommend over pfSense for new builds in 2026 — the development pace is significantly better): go to Interfaces → Other Types → VLAN. Create a VLAN interface for each VLAN ID on the physical WAN-side LAN interface. Then assign each VLAN interface under Interfaces → Assignments, enable them, and configure static IPs (e.g., 10.0.20.1/24 for VLAN 20). Each interface IP becomes the default gateway for that VLAN.
Step 3: Configure DHCP for each VLAN
In OPNsense, go to Services → DHCPv4. Each VLAN interface you created will appear here. Configure appropriate IP ranges. I typically leave the bottom 20 IPs of each /24 for static assignments and start DHCP at .21.
Step 4: Set up firewall rules between VLANs
This is where the real power lives. Default stance: VLANs should NOT be able to communicate with each other unless explicitly permitted. In OPNsense, add a block rule on each VLAN interface that blocks traffic destined for RFC1918 ranges (10.0.0.0/8, 172.16.0.0/12, 192.168.0.0/16). Then add explicit allow rules above the block for specific cross-VLAN needs (e.g., Trusted LAN can reach NAS on Lab VLAN).
Step 5: Configure Proxmox for VLAN-aware networking
In Proxmox, edit /etc/network/interfaces. Your primary bridge (vmbr0) should have bridge-vlan-aware yes set. You can then create VLAN-aware bridges or use VLAN tags directly on VM virtual network adapters. Assign VM network adapters to specific VLAN IDs in the VM hardware configuration. This is elegant — one physical NIC, one trunk uplink, and each VM lives in its own network segment.
Case Studies and Community References Worth Your Time
The home lab community has produced some fantastic reference material that I lean on constantly. Here’s what’s genuinely worth your time in 2026:
- r/homelab and r/homelab wiki: The community-maintained guides on VLAN segmentation are updated regularly. Particularly useful for the Proxmox + OPNsense stack documentation.
- Lawrence Systems (YouTube/blog): Tom Lawrence’s tutorials on pfSense/OPNsense VLAN configuration are some of the clearest explanations available. His series on firewall rules between VLANs is a must-watch for anyone getting started.
- Craft Computing (YouTube): Excellent deep-dives on Proxmox networking, including VLAN-aware bridge configurations. His 2026 series on software-defined networking in home labs is particularly relevant.
- NetworkChuck (YouTube): More beginner-friendly, but his VLAN fundamentals series is a great entry point before diving into the complex stuff.
- Mikrotik Wiki: If you graduate to Mikrotik hardware (their hEX or RB4011 routers are incredible value), their official documentation on 802.1Q VLAN bridging is surprisingly readable and technically precise.
- OPNsense official documentation (docs.opnsense.org): Don’t sleep on this. The official docs for VLAN interfaces and inter-VLAN firewall rules are well-maintained and accurate as of 2026.
On the hardware side, the 2026 home lab community has largely converged on a few trusted options for managed switches under $100:
- TP-Link TL-SG108E / SG116E: Reliable, cheap, solid 802.1Q support. The web UI is clunky but functional. Great entry point.
- Netgear GS308E / GS316E: Slightly better UI experience than TP-Link. Good port-level statistics.
- Mikrotik CRS305-1G-4S+IN: For those wanting SFP+ uplinks to a hypervisor. Overkill for most, but future-proof.
- Ubiquiti UniFi USW-Flex-Mini: If you’re already in the UniFi ecosystem, the management integration is unbeatable — though the cloud dependency is a philosophical issue for some home labbers.
Common Debugging Scenarios (War Stories from the Trenches)
Let me save you a few hours of hair-pulling with the most common VLAN issues I’ve personally debugged:
- “My device gets an IP but can’t reach the gateway”: Nine times out of ten, this is a PVID mismatch on the switch port. The switch is tagging traffic with the wrong VLAN ID before it hits your router. Double-check the PVID on the access port and make sure it matches the intended VLAN.
- “Inter-VLAN traffic is working even though I set block rules”: Check rule order. Firewall rules in pfSense/OPNsense are evaluated top-down, first match wins. An existing allow-all rule sitting above your block rules will win every time. Also check if you accidentally allowed traffic via the wrong interface.
- “My Proxmox VMs are getting IPs from the wrong VLAN”: The VLAN tag on the VM’s virtual NIC in the Proxmox hardware config wasn’t saved, or the bridge isn’t VLAN-aware. Run
brctl showvlans vmbr0to verify VLAN membership on the bridge. - “WiFi clients on my VLAN can’t talk to the access point management interface”: This is expected behavior if you did your firewall rules correctly — and it’s a good sign. Just make sure your management VLAN can reach the AP, and your client VLANs can reach the internet only.
Alternatives and Realistic Starting Points
Not everyone needs the full multi-VLAN segmentation from day one, and that’s genuinely okay. If you’re just starting out and the managed switch + OPNsense setup feels overwhelming, consider these stepping stones:
- Start with just two VLANs: Trusted LAN and IoT. This single split gives you 80% of the security benefit with maybe 20% of the complexity. Do this first, get comfortable, then expand.
- Use your router’s built-in guest network as a pseudo-VLAN: If you have an Asus, TP-Link Deco, or similar consumer router with a proper guest network, you’re already doing basic isolation. It’s not as flexible as real VLANs, but it’s a valid interim solution.
- Consider Unifi if you want a more guided experience: The UniFi ecosystem (UDM-SE or similar) handles VLAN configuration through a polished UI and is significantly more approachable than a DIY OPNsense setup. The trade-off is vendor lock-in and a subscription model for some features in 2026.
- Docker networking as a complement: If your workloads are primarily containerized, Docker’s network namespacing and bridge networks provide application-layer isolation that complements VLAN segmentation nicely — you don’t always need a dedicated VLAN per application if Docker networks handle the isolation.
The home lab journey is iterative. Nobody builds the perfect network architecture on the first try — I certainly didn’t. My own home lab network has been rebuilt from scratch three times over the years, and each rebuild taught me something the previous configuration couldn’t.
Editor’s Comment : VLAN setup in a home lab feels like a big leap, but once you’ve done it once — even imperfectly — you’ll never go back to flat networking. The security clarity, the troubleshooting confidence, and honestly the pure satisfaction of watching broadcast traffic drop to near-zero on your IoT VLAN is genuinely rewarding. Start small, get one VLAN working end-to-end, and then expand. The community resources in 2026 are better than they’ve ever been, and managed switches capable of this are cheaper than a nice dinner out. There’s never been a better time to properly segment your home lab.
📚 관련된 다른 글도 읽어 보세요
- Bio 3D Printing Artificial Organs in 2026: The Latest Research That Could Redefine Human Health
- Beyond Plastic: How Carbon Fiber & Ceramic Composites Are Rewriting the Rules of 3D Printing in 2026
- 2026년 Proxmox 가상화 홈랩 구축 튜토리얼 – 집에서 서버실을 만드는 가장 현실적인 방법
태그: home lab networking, VLAN setup guide, 802.1Q configuration, OPNsense VLAN, Proxmox networking, managed switch home lab, network segmentation 2026
Leave a Reply