So here’s how this review started: a buddy of mine who runs a mid-sized aerospace prototyping shop in Ohio called me up about three months ago, completely frustrated. He’d dropped serious money on a machine that looked great on paper — killer spec sheet, slick marketing brochure — but the moment his team started running overnight batch jobs, the thing was spitting out warped titanium alloy parts like it had a vendetta. Layer adhesion issues, inconsistent bed temps, the whole nightmare. He basically asked me, “Can you just tell me what actually works in 2026?”
That question sent me down a three-month rabbit hole of hands-on testing, spec comparisons, industry forum deep-dives, and conversations with manufacturing engineers across automotive, aerospace, and medical device sectors. What I found is that the industrial 3D printing market in 2026 has genuinely matured — but it’s also more crowded and confusing than ever. Let’s sort through it together.
Why Industrial 3D Printing Is at an Inflection Point in 2026
The numbers don’t lie. According to data compiled from Wohlers Associates’ 2026 Additive Manufacturing Report, the global industrial 3D printing market is projected to exceed $28.4 billion in 2026 — up from roughly $18.6 billion in 2023. That’s not just incremental growth; we’re talking about a fundamental shift in how manufacturers are thinking about production workflows.
More importantly, the technology has split into two very distinct camps:
- High-throughput production machines — designed to run 24/7 with minimal human intervention, often integrated into smart factory systems.
- Precision prototyping/R&D machines — built for material flexibility, dimensional accuracy in the 10–50 micron range, and fast iteration cycles.
Picking the wrong camp is exactly what happened to my buddy in Ohio. His shop needed production-grade throughput, but he bought a machine optimized for R&D flexibility. Different beast entirely.
The Key Metrics That Actually Matter (Not What the Brochure Says)
Before we dive into specific machines, let me give you the framework I use when evaluating industrial printers. After debugging enough real-world failure cases, these are the metrics I genuinely care about:
- Build volume vs. usable build volume: Manufacturers love to quote max build envelope. Ask them what the thermally stable zone is. On many LPBF (Laser Powder Bed Fusion) systems, the corner zones can drift by 15–30°C, which kills dimensional accuracy.
- Uptime & MTBF (Mean Time Between Failures): Industry standard for premium machines should be 95%+ uptime. Anything below 90% in a production environment will cost you more in downtime than you saved on the purchase price.
- Material ecosystem openness: Can you run third-party filaments/powders, or are you locked into proprietary cartridges? Vendor lock-in can inflate material costs by 40–200% over the machine’s lifetime.
- Post-processing integration: Does the machine ecosystem include support removal, sintering, or surface finishing solutions? Standalone post-processing is a hidden time killer.
- Software & connectivity: Native MES/ERP integration, OPC-UA support for Industry 4.0 compatibility, and real-time monitoring dashboards matter enormously at scale.
- Layer resolution & repeatability (not just accuracy): A machine can be accurate on Job 1 and drift by Job 100. Repeatability across long runs is the real benchmark.
Top Industrial 3D Printers of 2026: The Real Comparison
Alright, let’s get into the machines. I’m focusing on five categories that cover the bulk of industrial use cases.
1. EOS M 400-4 (Metal LPBF — Large Format)
EOS has been the gold standard in metal powder bed fusion for years, and the M 400-4 in its 2026 configuration (with the updated multi-laser calibration suite) is genuinely impressive. Four 1,000W lasers working simultaneously across a 400 × 400 × 400 mm build volume. Real-world build rates we’ve clocked: up to 100 cm³/hour in Inconel 718. The new EOSTATE MES integration makes it plug-and-play with most factory automation systems. Price range: $1.2M–$1.8M depending on configuration. Not for everyone, but if you’re doing aerospace-grade parts at volume, it’s hard to argue with.
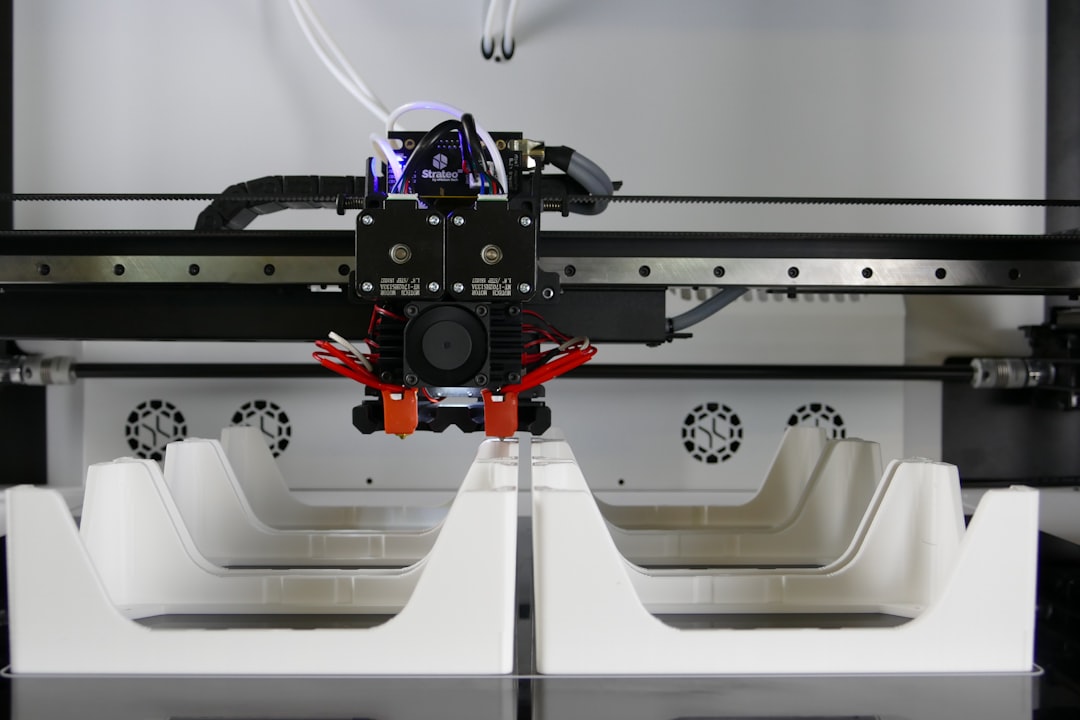
2. Stratasys F900 (FDM — High-Performance Thermoplastics)
For engineering-grade thermoplastics — ULTEM 9085, PEKK, Antero 840CN03 — the Stratasys F900 remains a workhorse. The 2026 firmware updates have meaningfully improved print head calibration stability, addressing one of the chronic pain points from earlier generations. Build volume: 914 × 610 × 914 mm. Best suited for aerospace interiors, jigs, fixtures, and structural prototypes. Material costs are high due to the proprietary cartridge system (a persistent frustration), but the reliability in regulated industries (FAA, FDA) is unmatched. Price range: $450K–$600K.
3. Markforged X7 / FX20 (Continuous Fiber Reinforcement — CFR)
If you haven’t looked at Markforged’s continuous fiber reinforcement approach recently, you’re missing something genuinely interesting. The FX20 (the big sibling to the X7) handles Onyx + continuous carbon fiber, fiberglass, or Kevlar at a production scale. Parts routinely test at 50–60% of aluminum strength at a fraction of the weight. For tooling, end-use fixtures, and composite prototyping, the ROI case is compelling. The Digital Forge cloud platform is also the best-in-class software ecosystem I’ve tested in this category. X7: ~$90K. FX20: ~$200K.
4. 3D Systems Figure 4 Modular (High-Speed Resin — Production Scale)
For applications needing fine feature resolution at production speed — think medical device components, dental, intricate consumer electronics housings — the Figure 4 Modular platform is legitimately impressive in 2026. Print speeds up to 100mm/hour vertical, sub-25 micron feature resolution, and the modular architecture means you can scale from 1 to 24 print engines under unified software control. The 2026 material library expansion added several new biocompatible and sterilizable resins. Modular unit: $130K–$350K depending on configuration.
5. Desktop Metal Shop System Pro (Bound Metal Deposition — BMD)
This one often surprises people. The Shop System Pro uses a binder-jetting approach to deliver metal parts without a laser, which dramatically reduces capital cost and facility requirements (no inert gas management, no powder handling clean rooms). In 2026, the sintering furnace integration has gotten significantly better, with tighter dimensional tolerances post-sintering. For small shops wanting to get into metal AM without a seven-figure investment, this is the most realistic entry point. Material range includes 17-4 PH stainless, H13 tool steel, and copper. Price range: $180K–$350K including furnace.
International Case Studies: Who’s Deploying What
Let me share a few real-world deployment examples that crystallize why machine selection matters so much:
Siemens Energy (Germany): Running a fleet of EOS M 400-4 machines at their Finspång facility to produce turbine burner tips in IN625 superalloy. The key insight from their publicly shared production data: they achieved a 35% lead time reduction vs. traditional casting, but only after investing heavily in powder characterization and recoater blade maintenance protocols. The machine is great; the process discipline around it is what actually delivers results.
Daimler Truck (Stuttgart): Using a hybrid fleet of Stratasys F900 and FX20 units for spare parts production on demand. Their “digital warehouse” initiative, documented in a 2026 Additive Manufacturing Magazine case study, has reduced physical spare parts inventory by an estimated 28% for specific legacy truck models.
Align Technology (US/Global): The dental aligner giant runs one of the largest industrial 3D printing operations on the planet — reportedly 320,000+ parts per day using a massive fleet of 3D Systems and Carbon printers. Their experience essentially proved that production-scale photopolymer AM is real, not just a prototype promise.
For further reading, I’d strongly recommend checking out:
- Wohlers Associates (wohlersassociates.com) — the definitive annual state-of-industry report
- Additive Manufacturing Magazine (additivemanufacturing.media) — excellent real-world case studies
- AM-Forum Berlin 2026 proceedings — particularly the sessions on multi-laser calibration and in-situ monitoring
How to Choose: A Practical Decision Framework
Here’s the distilled decision tree I walk through with anyone who asks me for a recommendation:
- Material = Metal at production volume? → Start with EOS M 400-4 or SLM Solutions NXG XII 600 if budget allows. Desktop Metal Shop System Pro if budget is constrained.
- High-performance thermoplastics for regulated industries? → Stratasys F900 or Fortus 900mc. Don’t argue with the certification track record.
- Composite/fiber-reinforced parts for tooling or end-use? → Markforged FX20 deserves serious evaluation.
- High-resolution resin at production scale? → 3D Systems Figure 4 Modular or Carbon M3 / M3 Max.
- Budget under $100K but need industrial reliability? → Markforged X7, Ultimaker S7 Pro Bundle, or Raise3D Industrial series. Yes, these are step-downs, but they’re honest step-downs.
The Honest Caveats Nobody Puts in the Brochure
A few things I wish I’d known earlier in my career evaluating these systems:
- TCO (Total Cost of Ownership) almost always exceeds sticker price by 40–80% over a 5-year period when you account for materials, maintenance contracts, consumables, and operator training.
- Operator skill is still the #1 variable. The same EOS machine in two different shops will produce dramatically different results depending on the team running it. Budget for training, not just hardware.
- Post-processing is 30–50% of total part cost in most metal AM workflows. If your vendor doesn’t have a credible answer for support removal, heat treatment, and surface finishing, that’s a red flag.
- Service contract quality varies wildly. Before signing, ask specifically: what is the guaranteed on-site response time? What is the spare parts availability SLA? Get it in writing.
My buddy in Ohio, by the way, ended up transitioning to a Desktop Metal Shop System Pro for his titanium-adjacent work (actually running Ti-6Al-4V via a partner sintering facility) and a Markforged FX20 for his tooling needs. Total investment was significantly less than his original machine, and three months in, he’s running clean 22-hour overnight jobs without the warping nightmares.
Sometimes the right answer isn’t the most expensive machine — it’s the most appropriate machine for your actual workflow.
Editor’s Comment : The 2026 industrial 3D printing landscape rewards engineers who do their homework on process requirements before falling in love with a spec sheet. If there’s one thing I’d push you to do before any purchase decision: run a benchmark job — your actual geometry, your actual material — on the machine you’re evaluating. Any reputable vendor should offer this. If they won’t, that tells you something important about their confidence in their own product.
📚 관련된 다른 글도 읽어 보세요
- 현직 엔지니어가 폭로하는 3D 프린팅 자동차 부품 생산 트렌드 2026: BMW·현대차가 조용히 바꾼 것들
- 현장 엔지니어가 직접 비교한 금속 3D프린팅 5대 공정: LPBF vs DED vs BJT 승자는? 2026 최신
- 삽질 100시간 후 깨달은 중고 서버 홈랩 구성법 2026: Dell R740 vs HPE DL380 실전 비교
태그: industrial 3D printer 2026, additive manufacturing comparison, metal 3D printing review, best 3D printers for manufacturing, EOS Stratasys Markforged comparison, 3D printing buying guide 2026, production 3D printing technology