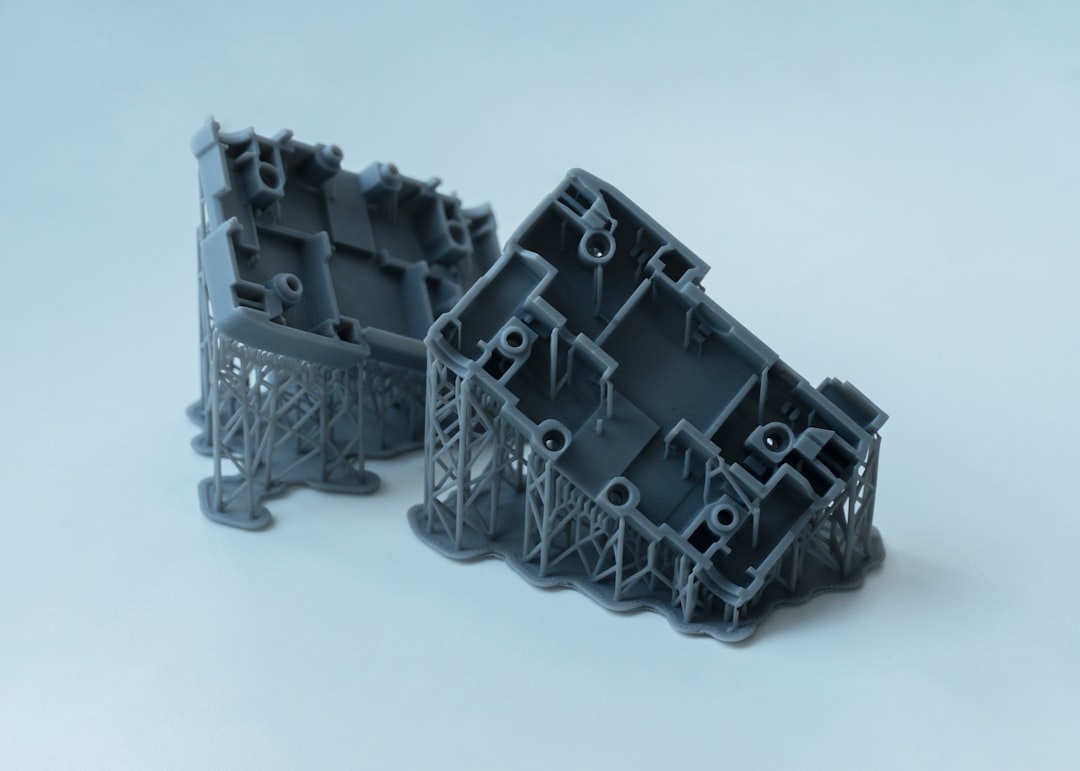
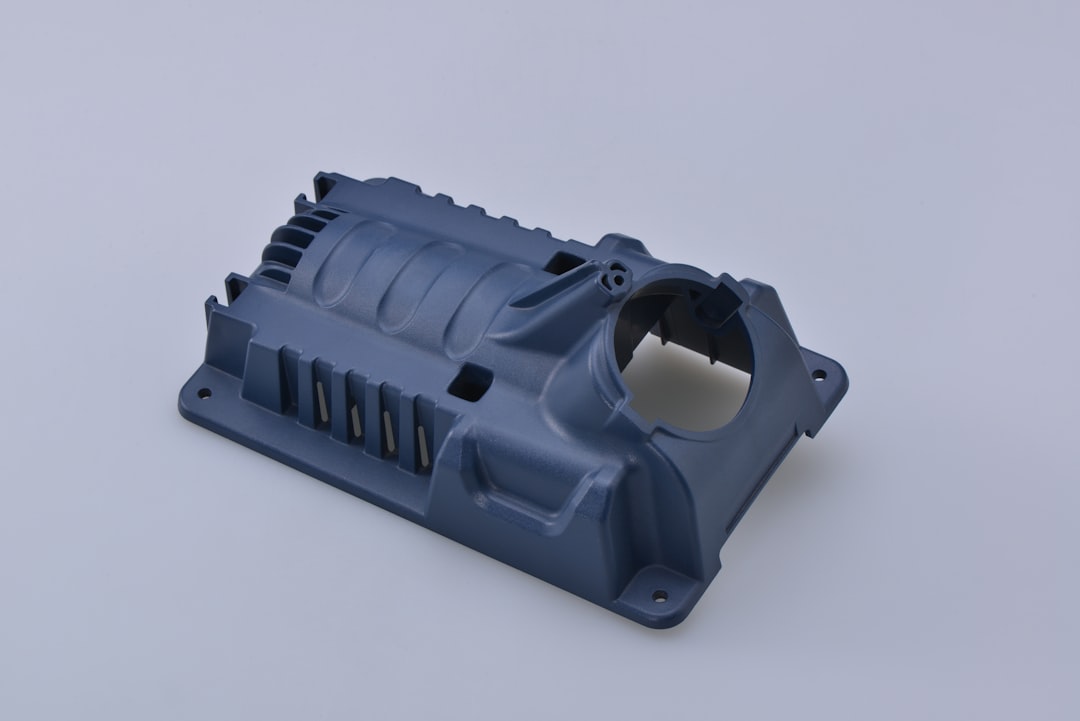
A few years back, I visited a small aerospace startup in Munich that was printing turbine components — not prototypes, but actual flight-ready parts. The engineer handed me a bracket printed from a titanium-aluminum alloy, and I nearly dropped it expecting it to be heavy. It wasn’t. That moment stuck with me, because it wasn’t just cool engineering — it was a signal that 3D printing materials had quietly crossed a threshold most of us hadn’t noticed yet.
Fast forward to 2026, and that threshold is now a highway. The materials science behind additive manufacturing has genuinely leveled up, and if you’ve been following the industry casually, you may have missed just how dramatic the shift has been. Let’s think through this together.

Why Materials Were Always the Bottleneck
For most of the 2010s, 3D printing’s biggest limitation wasn’t the machines — it was what you put in them. Early FDM (Fused Deposition Modeling) printers used basic PLA and ABS plastics that were great for trinkets and prototypes but would crack under real mechanical stress. Metal printing existed but was obscenely expensive and limited to simple geometries. The gap between “printed part” and “functional engineering part” was enormous.
That gap is closing fast, and the data backs it up. According to Wohlers Associates’ 2026 Additive Manufacturing Report, the advanced materials segment — covering high-performance polymers, metal composites, and ceramic hybrids — now represents 43% of total 3D printing market revenue, up from just 22% in 2021. That’s not incremental growth. That’s a structural shift in what the industry actually does.
High-Strength Polymers: Not Your Grandpa’s Plastic
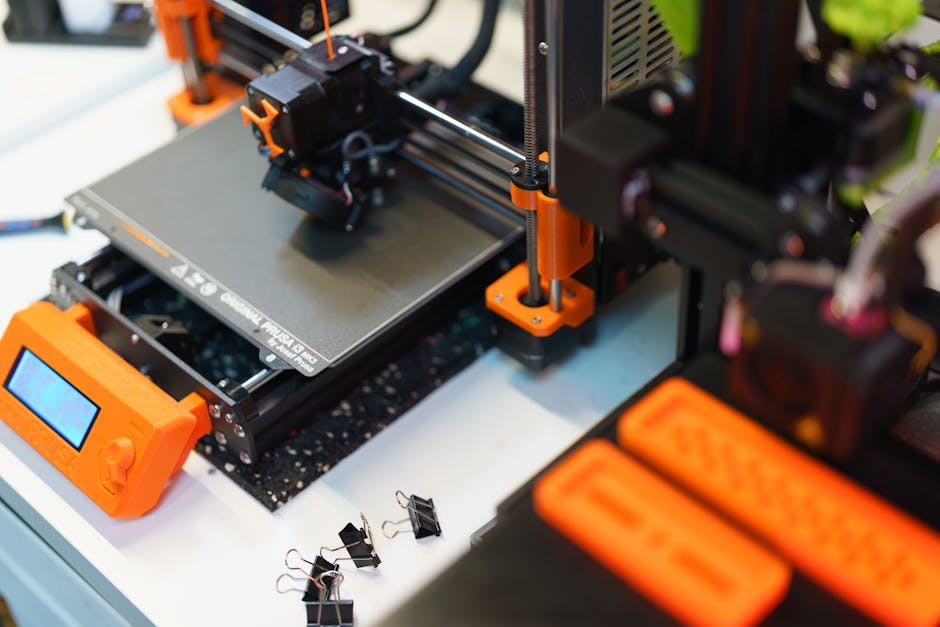
Let’s start with polymers, because this is where the most democratized innovation is happening — meaning you don’t need a million-dollar sintering machine to benefit.
The real stars in 2026 are PEEK (Polyether ether ketone), PEKK (Polyetherketoneketone), and a newer class called high-flow PAEK blends. These aren’t new chemicals per se, but what’s new is our ability to print them reliably at scale. Here’s why they matter:
- Tensile strength: Industrial PEEK printed parts now routinely achieve 100–110 MPa tensile strength — comparable to aluminum alloys used in non-critical aerospace brackets.
- Thermal resistance: PEKK maintains structural integrity at continuous temperatures above 250°C, making it viable for under-hood automotive and chemical processing applications.
- Biocompatibility: Medical-grade PEEK is now FDA-cleared for spinal implants printed directly to patient CT scans — a genuine revolution in personalized medicine.
- Chemical resistance: These polymers resist acids, hydrocarbons, and solvents that would destroy conventional engineering plastics like nylon or polycarbonate.
- Weight advantage: Compared to metal alternatives, PEEK composites are 40–60% lighter while maintaining comparable stiffness in many applications.
One development I find particularly exciting is the emergence of carbon-fiber-reinforced PEEK filaments from companies like Evonik and Solvay. The short-fiber variants have been around for a while, but 2025–2026 saw continuous fiber reinforcement become printable with desktop-scale machines, pushing specific stiffness values into territory previously reserved for aerospace composites.
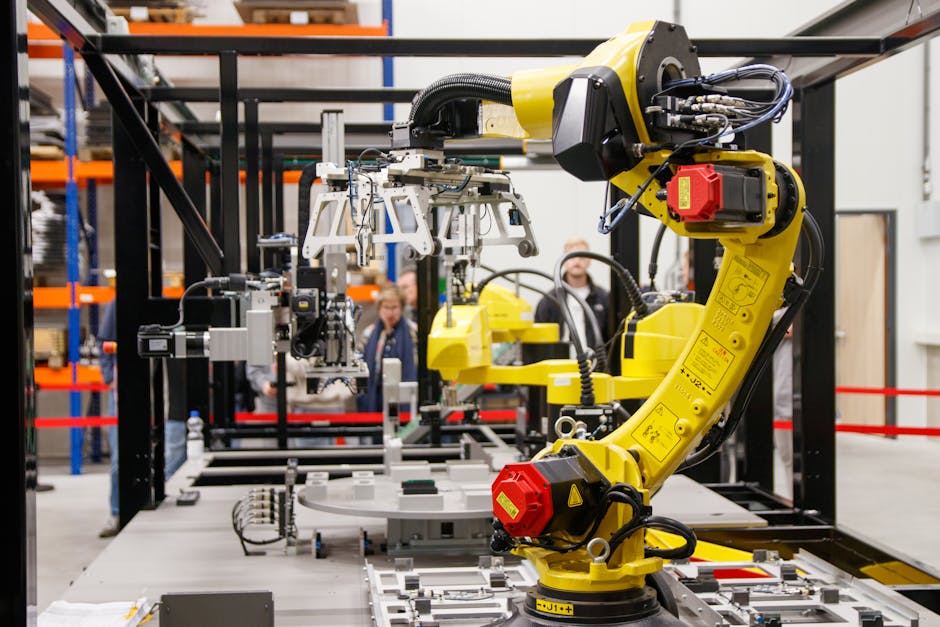
Metal Printing: From Lab Curiosity to Factory Floor
Metal additive manufacturing has three main approaches worth knowing: LPBF (Laser Powder Bed Fusion), DED (Directed Energy Deposition), and the rapidly growing binder jetting process. Each has its sweet spot, but binder jetting is stealing the spotlight in 2026 for production-scale metal parts.
Why binder jetting? Speed and cost. Traditional LPBF is layer-by-layer laser melting — precise, but slow and expensive. Binder jetting deposits a binding agent across a powder bed, prints an entire layer almost simultaneously, then sinters the part in a furnace. Companies like Desktop Metal (now merged with Markforged under the unified “FormAlloy” brand after their 2025 consolidation) and ExOne have pushed cycle times down by 40–70% compared to 2022 benchmarks.
The alloys themselves are also getting interesting:
- Copper-chromium alloys: Now printable with >95% density, enabling heat exchangers with internal geometries impossible to machine — critical for EV battery thermal management.
- Refractory metals (tungsten, molybdenum): Finally printable at industrial scale, opening doors for nuclear shielding and hypersonic vehicle components.
- Amorphous metal glasses: A frontier material — technically not crystalline — being trialed for surgical tools and precision sensors because of near-zero wear characteristics.
- Aluminum-scandium alloys: Adding just 0.2% scandium dramatically improves weldability and fatigue life; printable variants are now certified for Airbus A320 family secondary structures.

Real-World Examples Across Industries
Let’s ground this in what’s actually happening globally.
South Korea — Hyundai Motor Group has integrated PEEK-composite printed parts into the IONIQ 9’s interior structural elements, reducing component weight by 18% versus injection-molded alternatives. Their Ulsan facility runs 24-hour automated print-and-inspect cycles on polymer components.
Germany — Siemens Energy is using DED metal printing to repair, not just manufacture, gas turbine blades in-field. Instead of scrapping a damaged €40,000 blade, technicians print material back onto worn edges. The repaired blade reportedly performs within 2% of new-part specifications — a massive cost and sustainability win.
USA — Relativity Space (now producing their Terran R rocket) prints over 95% of rocket components using proprietary aluminum-lithium alloys on their Stargate printers. What would take 18 months in conventional manufacturing takes under 60 days.
Japan — Kyocera has developed printable ceramic-metal composites (cermets) for cutting tools, achieving a 35% longer tool life than conventional tungsten carbide inserts in titanium machining — a huge deal for the country’s precision manufacturing sector.
What This Means If You’re Not Boeing or Hyundai
Here’s the honest reality check — and this is where I want to think practically with you. Not everyone reading this runs an aerospace program. So what does the materials revolution actually mean for small businesses, makers, and independent engineers in 2026?
The good news is that the trickle-down effect is real and accelerating:
- Service bureaus: Companies like Protolabs, Xometry, and regional equivalents now offer PEEK and metal binder jetting as standard catalog services. You design it, they print it, often with 5-day turnaround.
- Desktop PEEK printers: Machines like the Roboze One+ 400 Evo (under $30,000) make high-performance polymer printing accessible to well-funded startups and university labs.
- Material subscription models: Several filament brands now offer material-as-a-service subscriptions that include technical support and certified testing data — crucial if you’re designing load-bearing parts.
- Open-source formulations: The community around material science is genuinely collaborative; initiatives like the Open Materials Project have published printable formulations for nylon-carbon blends that outperform commercial alternatives.
If full metal printing is out of your budget, consider metal-filled filaments (composite polymer with 50–80% metal powder by weight) combined with chemical post-processing. While they don’t match true sintered metal, they offer dramatically improved density, conductivity, and aesthetics at a fraction of the cost — perfect for functional prototypes and low-load production parts.
Looking Ahead: What to Watch in Late 2026 and Beyond
Two areas I’m personally watching closely: multi-material printing — the ability to print gradient compositions within a single part (imagine a component that transitions from rigid metal to flexible polymer in one print) — and AI-driven material discovery. Several university labs are using generative models to propose novel polymer chain architectures, which are then synthesized and tested in weeks rather than years. The pace of iteration is genuinely unprecedented.
Editor’s Comment : We’re living through a genuinely historic moment in manufacturing materials — one of those slow-motion revolutions that only looks inevitable in hindsight. The convergence of printable high-strength polymers and accessible metal additive processes isn’t just changing what engineers can build; it’s changing who gets to build it. Whether you’re a hobbyist curious about PEEK filament or a product manager evaluating metal binder jetting for production, the advice is the same: start a small test project now. The learning curve is real, but the materials have finally caught up to the ambition. Don’t wait for the technology to get “more ready” — it’s ready enough, and the gap between early adopters and everyone else is widening by the month.
📚 관련된 다른 글도 읽어 보세요
- How 3D Printing Is Revolutionizing Lightweight Auto Parts Manufacturing in 2026
- DIY Mini Rack Build: How I Built a Compact Home Lab Case in 2026 (And What I’d Do Differently)
- Raspberry Pi 5 Home Lab Projects You Should Try in 2026: From Beginner Builds to Advanced Setups
태그: [‘3D printing materials 2026’, ‘high-strength polymer printing’, ‘PEEK 3D printing’, ‘metal additive manufacturing’, ‘binder jetting technology’, ‘carbon fiber reinforced printing’, ‘additive manufacturing innovation’]