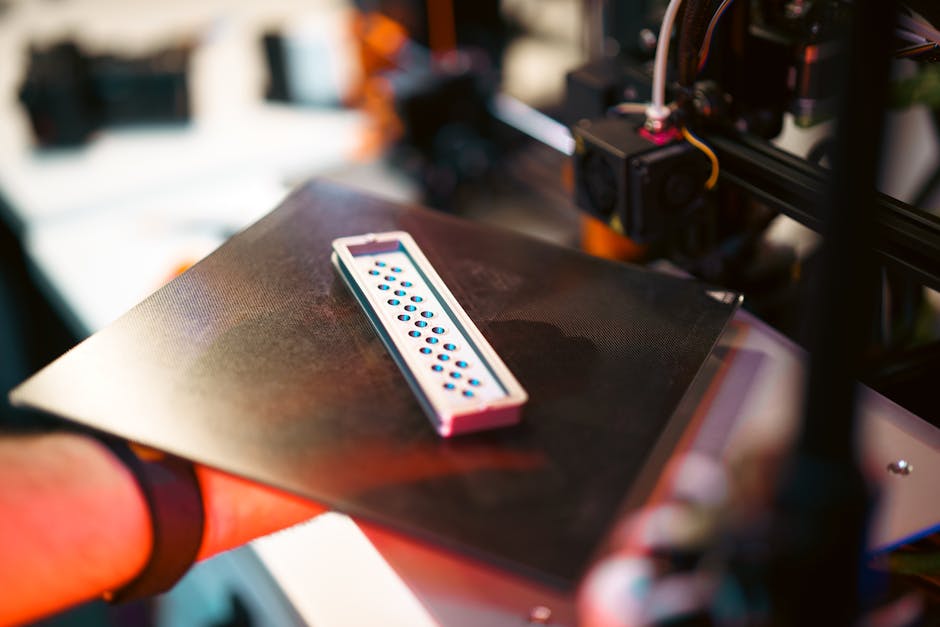
A few months ago, a mid-sized automotive parts manufacturer in Stuttgart reached out to a 3D printing consultancy with a seemingly simple question: “We need to prototype a complex fluid manifold — which printing method should we use?” What followed was a three-hour conversation about tolerances, material behavior, post-processing costs, and lead times. That conversation is exactly what this post is about. Because the truth is, choosing between SLS, SLA, and FDM isn’t a simple checklist — it’s a strategic decision that can make or break your production timeline and budget.
Let’s think through this together, step by step.
🔷 What Are We Actually Talking About? A Quick Primer
Before diving into the numbers, let’s ground ourselves in what each technology actually does:
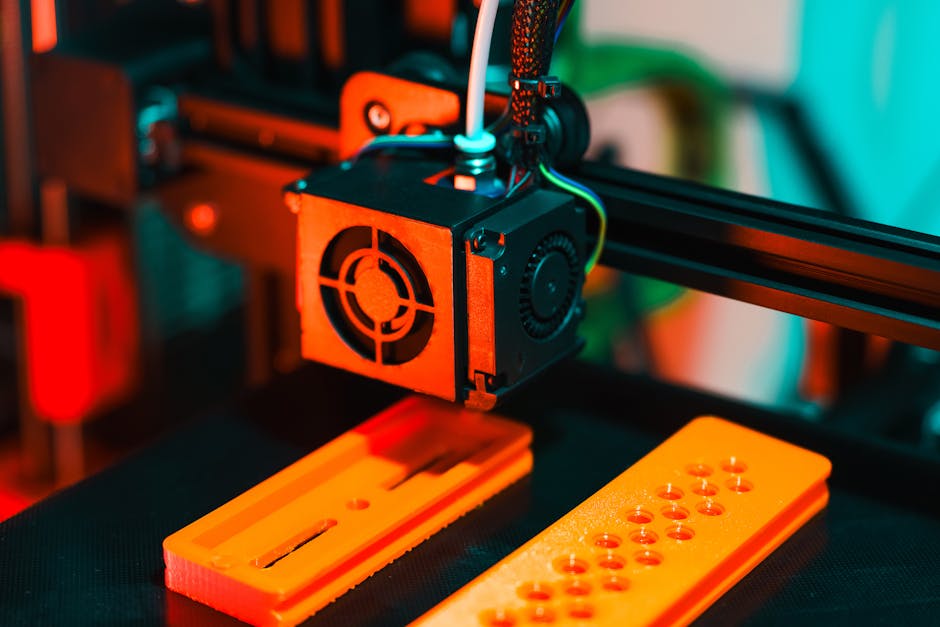
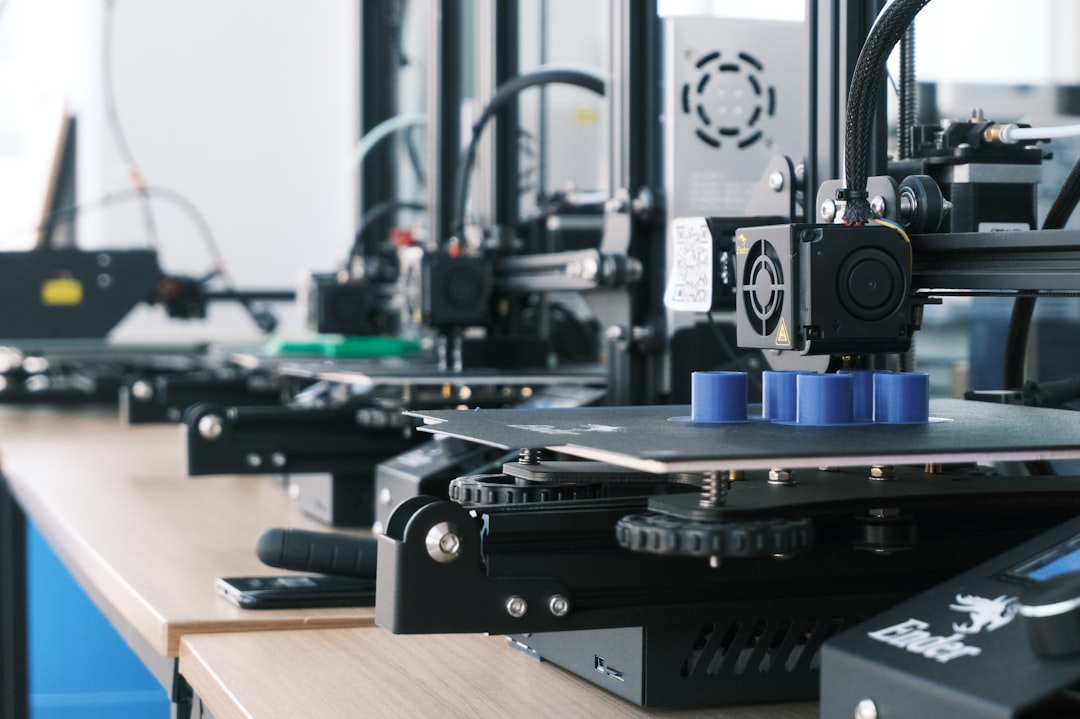
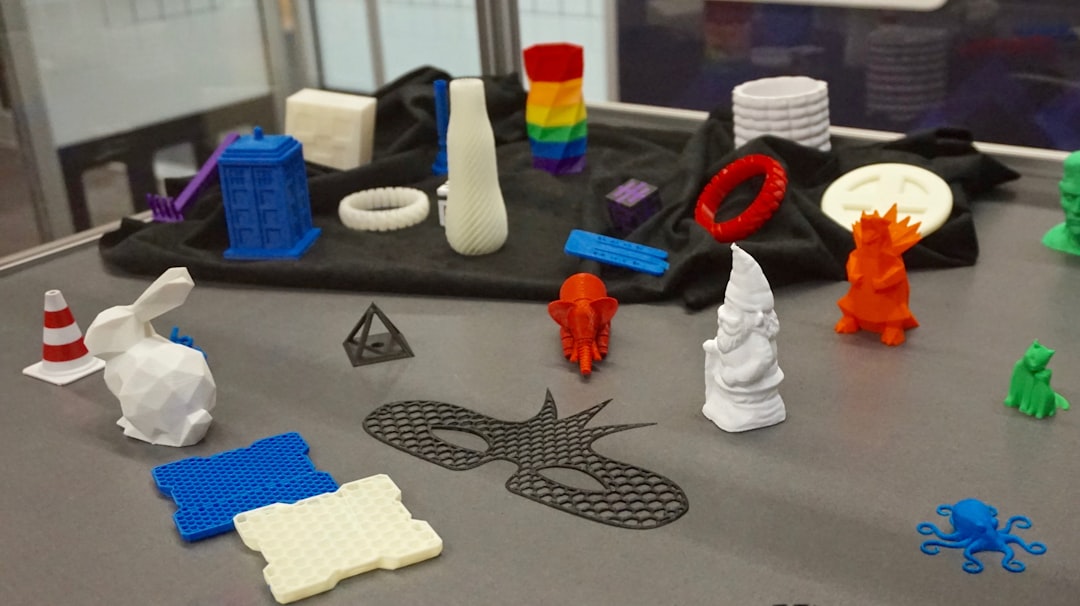
- FDM (Fused Deposition Modeling): Melts thermoplastic filament and deposits it layer by layer. Think of a very precise hot glue gun. It’s the most widely adopted method globally.
- SLA (Stereolithography): Uses a UV laser to cure liquid photopolymer resin layer by layer. One of the oldest 3D printing methods — patented back in the 1980s — but its precision has made it enduringly relevant.
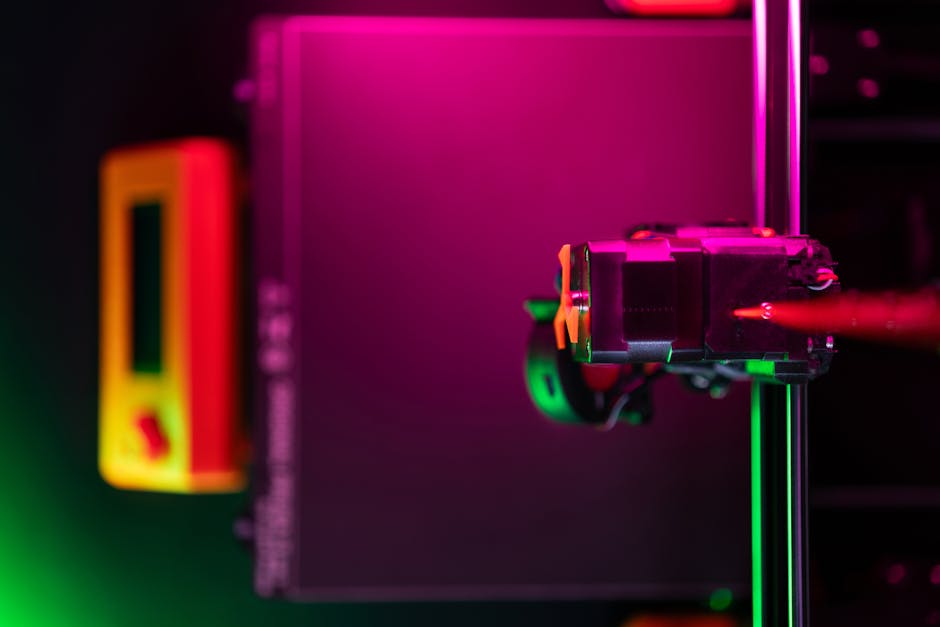
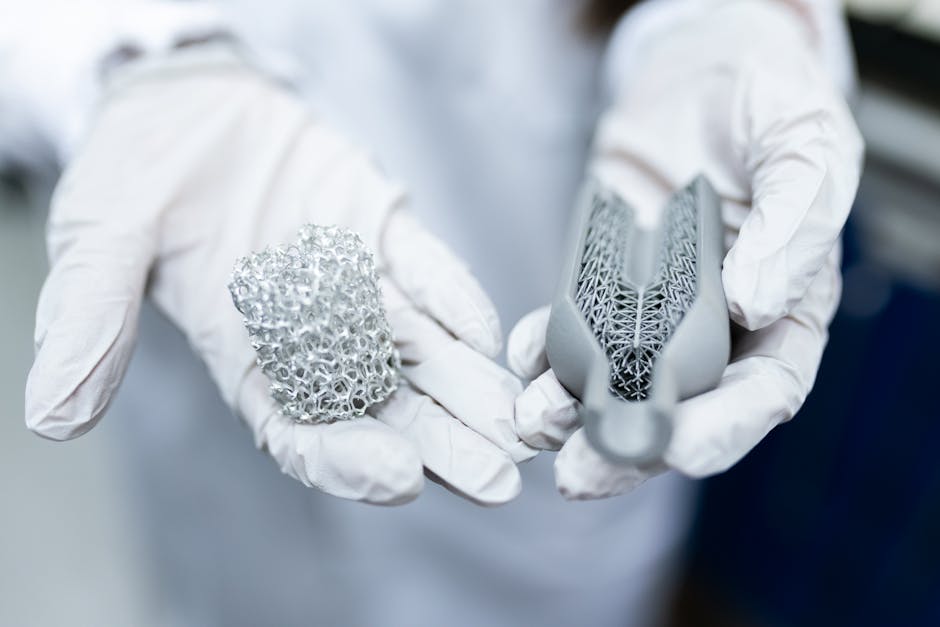
- SLS (Selective Laser Sintering): Uses a high-powered laser to fuse powdered materials (usually nylon, TPU, or even metal powders in some variants) into solid structures. No support structures needed — a game changer for complex geometries.
📊 Breaking Down the Performance Data: Where Each Technology Wins
Let’s get specific. Based on industry benchmarking data compiled through early 2026 across aerospace, medical, and consumer electronics sectors, here’s how the three technologies stack up on key metrics:
- Dimensional Accuracy: SLA leads with tolerances as tight as ±0.05mm. SLS follows at ±0.1–0.3mm, and FDM typically ranges from ±0.25–0.5mm depending on the machine and filament quality.
- Surface Finish (Ra value): SLA produces the smoothest surfaces (Ra ~1.5–3 µm), critical for optical or aesthetic components. FDM is the roughest (Ra ~10–30 µm), often requiring significant post-processing.
- Build Speed: FDM wins for large, simple parts — especially with multi-nozzle industrial systems from Stratasys or Markforged. SLS is moderate but excels in batch production because the powder bed supports multiple nested parts simultaneously.
- Material Diversity: SLS has the edge for functional parts — engineering-grade nylons (PA12, PA11), TPU, glass-filled composites, and even aluminum-infused powders. SLA is largely limited to photopolymers, though high-performance resins have expanded significantly in 2026. FDM supports PLA, ABS, PETG, Nylon, carbon fiber composites, and PEEK.
- Cost per Part (industrial scale): FDM is cheapest for simple, low-volume parts. SLS becomes cost-competitive at medium volumes (20–200 units) due to batch efficiency. SLA is often the most expensive per part when post-processing (washing, UV curing, support removal) is factored in.
🏭 Real-World Examples: Who’s Using What and Why
Theory is great, but let’s look at how actual companies are deploying these technologies in 2026.
Airbus (Toulouse, France) — SLS for cabin components: Airbus has been using SLS-printed PA12 components for interior cabin fixtures since the late 2010s, and by 2026, their Toulouse facility has expanded this to over 50 certified flight-ready part types. Why SLS? The ability to produce lightweight, complex ducting and bracket geometries without support structures — and the material’s flame-retardant certifiable properties — makes it indispensable for aviation applications.
Invisalign / Align Technology (San Jose, USA) — SLA at scale: Align Technology remains one of the most remarkable SLA success stories. They produce over 800,000 unique SLA-printed dental molds per day across their global facilities. The micron-level precision of SLA is non-negotiable when you’re fitting something inside a human mouth. This is a case where surface accuracy directly translates to patient outcomes.
Hyundai Mobis (South Korea) — FDM for rapid tooling: Hyundai’s parts-manufacturing subsidiary has integrated FDM printing (primarily using Stratasys F900 systems with ULTEM 9085) into their prototyping pipeline for jigs, fixtures, and short-run tooling. In 2025, they reported a 34% reduction in tooling lead times by replacing CNC-machined fixtures with FDM equivalents in non-critical applications. By 2026, this practice has spread across their Asan and Ulsan facilities.
Materialise (Leuven, Belgium) — Hybrid SLS + SLA approach: This Belgian 3D printing services giant often uses SLS for structural functional parts and SLA for the visual/presentation versions of the same design — a dual-method approach that’s becoming increasingly common among product development teams who need both form and function prototypes simultaneously.

⚖️ The Hidden Costs Nobody Talks About
Here’s where I want to push back against overly simplified comparisons. The sticker price of a print is rarely the real cost. Let’s reason through the full picture:
- SLA post-processing: Every SLA part needs an IPA wash bath and UV curing station. At industrial scale, this adds both equipment cost (~$5,000–$50,000 for proper curing chambers) and labor time. Photopolymer resins also degrade with UV exposure over time, meaning SLA parts aren’t ideal for outdoor or long-lifecycle applications.
- SLS powder management: SLS machines require careful powder refresh ratios (typically 50/50 virgin-to-recycled powder for PA12) to maintain mechanical consistency. Improper powder management leads to part inconsistency — something smaller shops often underestimate. The machines themselves are also significantly more expensive ($100,000–$800,000+ for industrial SLS systems).
- FDM warping and delamination: For large engineering parts in ABS or high-temp materials, FDM requires controlled enclosure environments. Layer adhesion (Z-axis strength) remains FDM’s Achilles heel — parts can be 40–60% weaker in the Z direction compared to XY, which is critical to account for in structural applications.
🎯 Matching Technology to Your Actual Situation
Rather than telling you which is “best” (because there genuinely isn’t a universal answer), let’s map common use cases to logical choices:
- You need a high-fidelity visual prototype for investor demos or consumer testing: → SLA. The surface finish is unmatched, and resin colors can be post-painted beautifully.
- You’re producing functional end-use parts under mechanical or thermal stress: → SLS (for nylon-based needs) or FDM with PEEK/ULTEM (for extreme heat resistance).
- You need low-cost rapid iteration in early design stages: → FDM. Get a design on the desk in hours for a fraction of the cost. Fail fast and cheaply.
- You’re running a batch of 50–200 identical functional parts: → SLS wins on cost-per-part due to powder bed nesting. A single SLS build can contain hundreds of small parts simultaneously.
- You’re in the dental, hearing aid, or jewelry industry: → SLA or its cousin DLP (Digital Light Processing) — the resolution and biocompatible resin availability make it the standard choice.
- Budget is the primary constraint for non-critical applications: → FDM, especially with open-source machines or third-party filament. Desktop FDM from brands like Bambu Lab or Prusa has reached remarkable quality levels by 2026.
🔮 Where Is Industrial 3D Printing Heading in 2026?
A few trends worth noting as you plan your technology investments:
- Multi-material SLA and DLP are gaining traction, allowing rigid and flexible zones within a single print — something that previously required assembly.
- AI-assisted print parameter optimization is now built into industrial FDM and SLS systems from EOS, 3D Systems, and HP’s Multi Jet Fusion platform, reducing failure rates significantly.
- Binder Jetting (from companies like Desktop Metal and ExOne) is quietly eating into SLS market share for metal applications, and it’s worth watching as a potential fourth major technology in this conversation.
- Sustainability is a growing differentiator — SLS powder recyclability and bio-based FDM filaments (PLA from corn starch, etc.) are becoming procurement criteria for ESG-conscious manufacturers in Europe and South Korea.
✅ Conclusion: There’s No “Best” — There’s Only “Right for Your Context”
If the Stuttgart automotive manufacturer story taught us anything, it’s that the right answer depends on a constellation of factors: geometry complexity, material requirements, production volume, budget, timeline, and post-processing capacity. For their fluid manifold? They ended up going SLS for the functional prototype and SLA for the design review model — a hybrid approach that served two different stakeholders simultaneously.
My honest recommendation: before committing to a technology or purchasing equipment, run a small pilot batch through a service bureau like Materialise, Protolabs, or Shapeways. The real-world data you get from your specific geometry and material will be worth more than any spec sheet comparison.
And if you’re a small business without the budget for industrial hardware? FDM desktop machines in 2026 are genuinely remarkable — don’t sleep on them for early-stage development.
Editor’s Comment : The 3D printing landscape has matured to the point where choosing a technology is less about “which is better” and more about matching tools to jobs — much like choosing between a scalpel and a bandsaw. The most sophisticated manufacturers in 2026 aren’t loyal to one method; they’re fluent in all three. If you’re just starting your additive manufacturing journey, my single biggest piece of advice is this: talk to the engineers at a service bureau before you spend a dollar on equipment. They’ve seen thousands of projects fail for predictable reasons, and that knowledge is often free for the asking.
📚 관련된 다른 글도 읽어 보세요
- 자작 NAS 하드웨어 추천 2026 — 예산별 최적 구성 완전 가이드
- Proxmox Home Server Virtualization Setup Tutorial 2026: Build Your Own Powerhouse Lab on a Budget
- 3D 프린팅 소재 혁신 2026: 탄소섬유·세라믹·복합재료가 바꾸는 제조업의 미래
태그: [‘industrial 3D printing 2026’, ‘SLS vs SLA vs FDM’, ‘additive manufacturing comparison’, ‘3D printing technology guide’, ‘SLS nylon printing’, ‘SLA resin printing industrial’, ‘FDM manufacturing applications’]