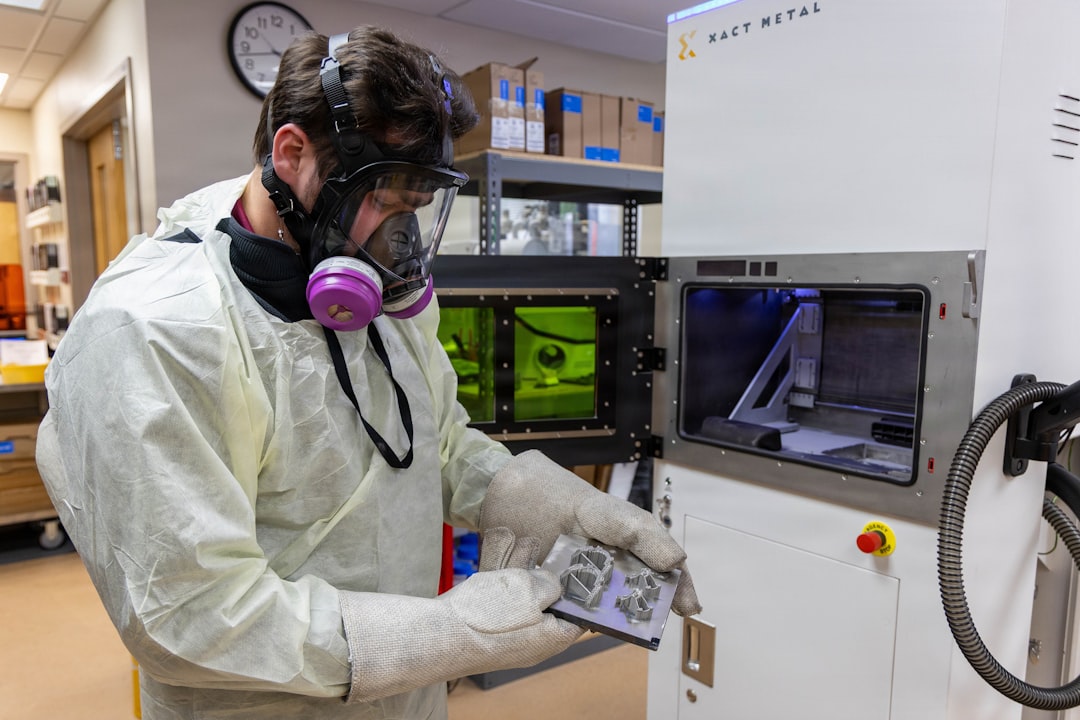
Picture this: it’s 2019, and a lead engineer at a major satellite manufacturer is holding a titanium bracket that took 14 weeks to procure. Fast forward to today — that same bracket is printed overnight, on-site, with better fatigue performance than its forged counterpart. That shift didn’t happen by accident, and it’s accelerating faster than most industry watchers predicted. Let’s dig into what’s really driving the 2026 additive manufacturing (AM) boom in aerospace — and what it means whether you’re a seasoned engineer or just starting to explore the space.

The Numbers Don’t Lie: Where the Market Stands in 2026
The global aerospace AM market crossed the $6.8 billion USD mark in early 2026, according to estimates from MarketsandMarkets and SME’s annual manufacturing outlook. That’s roughly a 22% compound annual growth rate sustained over the past four years — a pace that even optimistic 2022 projections underestimated. Why? Three converging forces:
- Material science breakthroughs: New nickel superalloys (like CM247LC variants) and ultra-high-temperature ceramic matrix composites (CMCs) are now printable with laser powder bed fusion (LPBF) at densities above 99.7%, matching or exceeding cast properties.
- Machine throughput: Multi-laser systems — some running 12 lasers simultaneously — have cut build times by up to 60% compared to 2022 benchmarks. GE Aerospace’s M Line Factory system and Trumpf’s TruPrint 5000 Green Edition are leading this charge.
- Regulatory maturation: The FAA’s AM Flight Parts Certification Framework (finalized in late 2024) gave manufacturers a clear, repeatable pathway to Part 21 certification for printed flight-critical parts. EASA followed with its own harmonized guidance in early 2025, opening the European commercial aviation lane considerably.
What Technologies Are Actually Moving the Needle?
Not all AM processes are created equal, and in aerospace, the distinction really matters. Here’s the honest breakdown of what’s gaining traction right now:
- Laser Powder Bed Fusion (LPBF): Still the workhorse for complex, high-precision components under ~500mm. Think fuel injector nozzles, heat exchangers, and structural brackets. Maturity is high; cost is still the friction point.
- Directed Energy Deposition (DED): Having a serious renaissance in 2026 for large-format structural parts and repair applications. Norsk Titanium’s Rapid Plasma Deposition (RPD) is now qualified on Boeing 787 structural components, and the repair use case — refurbishing worn turbine blades rather than scrapping them — is proving enormously cost-effective for MRO shops.
- Binder Jetting: The dark horse. Desktop Metal’s ExOne systems and HP’s Metal Jet S100 have matured enough that binder jetting is now competitive for medium-complexity, high-volume structural hardware. The sintering step is still a workflow consideration, but cycle times are dramatically shorter than LPBF for the right geometries.
- Wire Arc Additive Manufacturing (WAAM): Particularly strong for large aluminum and titanium airframe structures. Cranfield University’s WAAM3D spin-off reported a 73% material waste reduction versus traditional CNC milling on a demonstrator wing spar in late 2025.
Real-World Examples: Who’s Doing What
Let’s ground this in actual programs, because the proof is always in the hardware.
Airbus & Materialise (Europe): The A350 XWB program continues to be a benchmark. Airbus now flies over 1,000 AM parts per aircraft, including titanium cabin brackets and nacelle components. Their 2026 push, in partnership with Belgian AM specialist Materialise, targets topology-optimized structural ribs for the A320neo family — parts that couldn’t exist without AM because their internal lattice structures are unmachineable.
GE Aerospace (USA): The CFM RISE (Revolutionary Innovation for Sustainable Engines) program, set for demonstrator testing through 2026-2027, relies heavily on AM for its open-fan architecture components. GE has publicly stated that AM is enabling combustor designs with 15-20% fewer cooling holes — which directly translates to fuel efficiency gains.
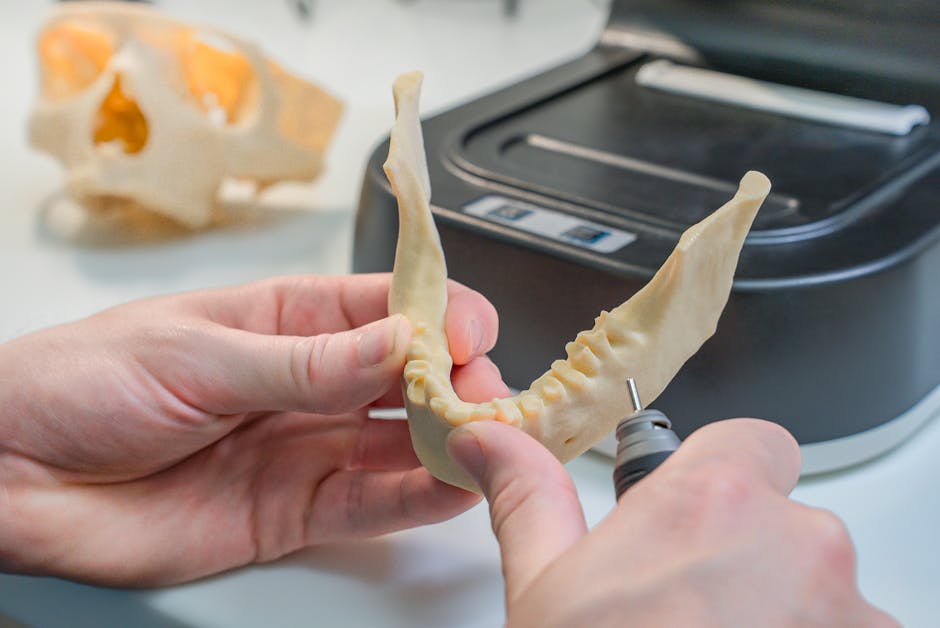
JAXA & IHI Corporation (Japan): On the domestic front in Japan, IHI’s collaboration with JAXA on the LE-9 rocket engine’s turbopump components is a compelling case study. Printed impeller stages that previously required complex multi-piece assemblies are now single-piece LPBF components, reducing part count by 40% and improving rotodynamic balance.
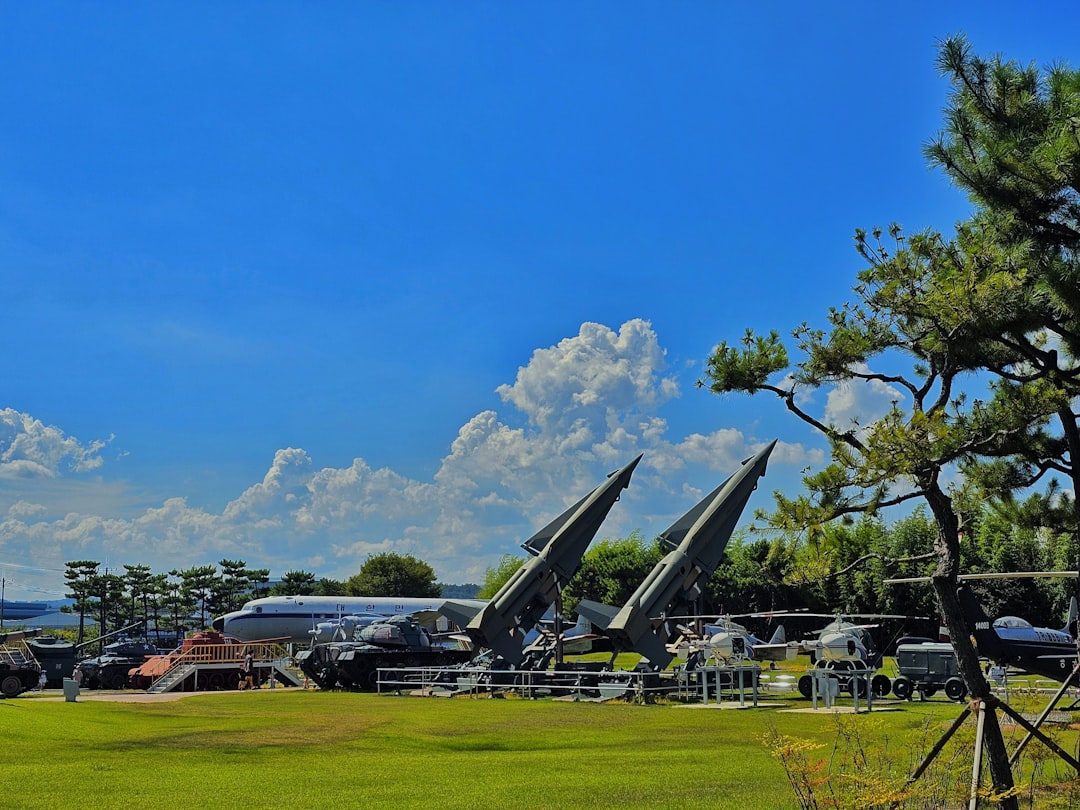
Korea Aerospace Industries (KAI) & KARI (South Korea): KAI’s KF-21 Boramae fighter program incorporated AM-produced titanium airframe fittings and hydraulic manifolds, with KARI (Korea Aerospace Research Institute) providing qualification testing support. This marks a meaningful leap for the Korean aerospace supply chain’s AM capability, which was largely R&D-focused as recently as 2022.
The Supply Chain Angle Most People Overlook
Here’s something worth thinking about: AM isn’t just a manufacturing process — it’s a supply chain strategy. The ability to print on-demand, near point-of-need (including forward operating bases for defense applications) is reshaping how primes think about spare parts inventory. The U.S. Air Force’s Agile Manufacturing initiative now includes certified AM nodes at several depots, meaning a C-17 or F-35 ground support bracket can theoretically go from digital file to installed part in under 72 hours. That’s a logistics revolution wrapped inside a manufacturing story.
Realistic Alternatives and Considerations: Not Everything Should Be Printed
Here’s where I want to push back a little on the hype — because not every aerospace component is a candidate for AM, and making smart choices matters. If you’re an engineer or procurement professional evaluating AM for a new project, consider this framework:
- High geometric complexity + low volume = strong AM candidate. This is where AM’s economics shine. If your part has internal channels, organic shapes, or integrated functionality, AM likely wins.
- Simple geometry + high volume = AM probably loses. Stamped, forged, or CNC’d parts at scale still undercut AM on unit economics for straightforward geometries.
- Material-critical applications: For parts requiring ultra-tight grain structure control (like certain turbine discs), traditional forging + HIP (Hot Isostatic Pressing) still holds advantages. AM is closing the gap with in-process monitoring and post-build HIP cycles, but maturity varies by alloy.
- Supply chain resilience play: Even if AM isn’t the cheapest per-part option, maintaining a digital inventory (keeping a qualified CAD/process file rather than physical stock) can be worth the premium for long-lead, low-frequency critical spares.
The bottom line for 2026 is this: AM in aerospace has graduated from “interesting experiment” to “qualified production tool,” but it works best as part of a hybrid strategy — AM where it adds real value, conventional manufacturing everywhere else. The engineers winning right now are the ones who know which is which.
Editor’s Comment : What genuinely excites me about where aerospace AM sits in 2026 is that we’ve finally moved past the “future of manufacturing” framing and into the “present of manufacturing” reality. The certification frameworks are in place, the materials databases are filling in, and the ROI stories are repeatable. The next frontier isn’t printing more parts — it’s integrating AM fluency into engineering education and supply chain thinking so that the technology gets applied intelligently, not just enthusiastically. Keep watching the MRO and defense sustainment spaces; that’s where the next wave of AM adoption stories will come from.
📚 관련된 다른 글도 읽어 보세요
- Metal 3D Printing Materials in 2026: The Innovations Quietly Reshaping Manufacturing Forever
- 3D Printing Smart Factory for SMEs: A Practical 2026 Implementation Guide That Actually Works
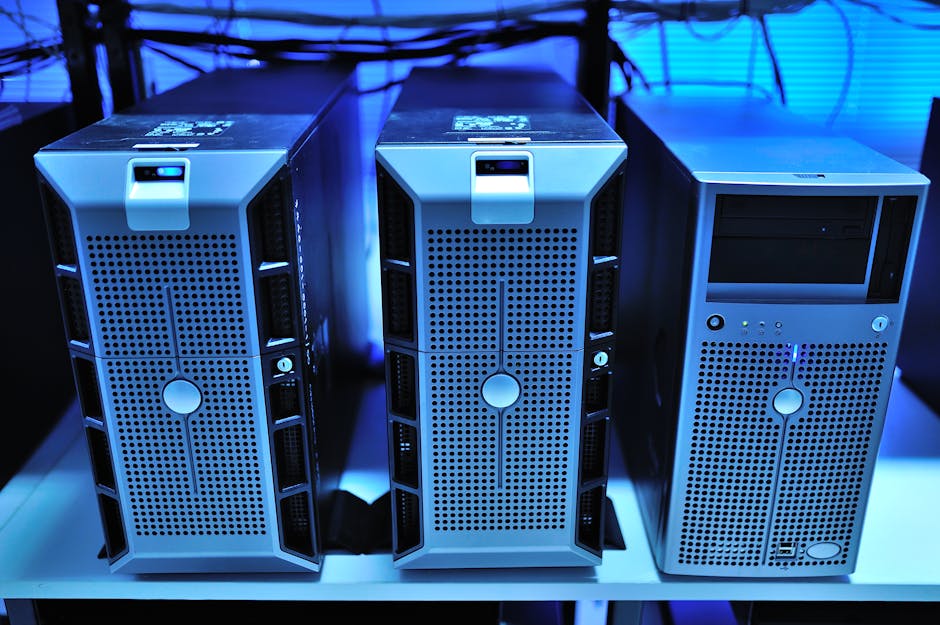
- 중고 서버 홈랩 구축 비용 비교 2026 — 실제로 얼마나 들까?
태그: [‘aerospace additive manufacturing 2026’, ‘3D printing aerospace components’, ‘laser powder bed fusion aerospace’, ‘WAAM aerospace structures’, ‘AM flight parts certification’, ‘GE Aerospace AM technology’, ‘aerospace supply chain innovation’]