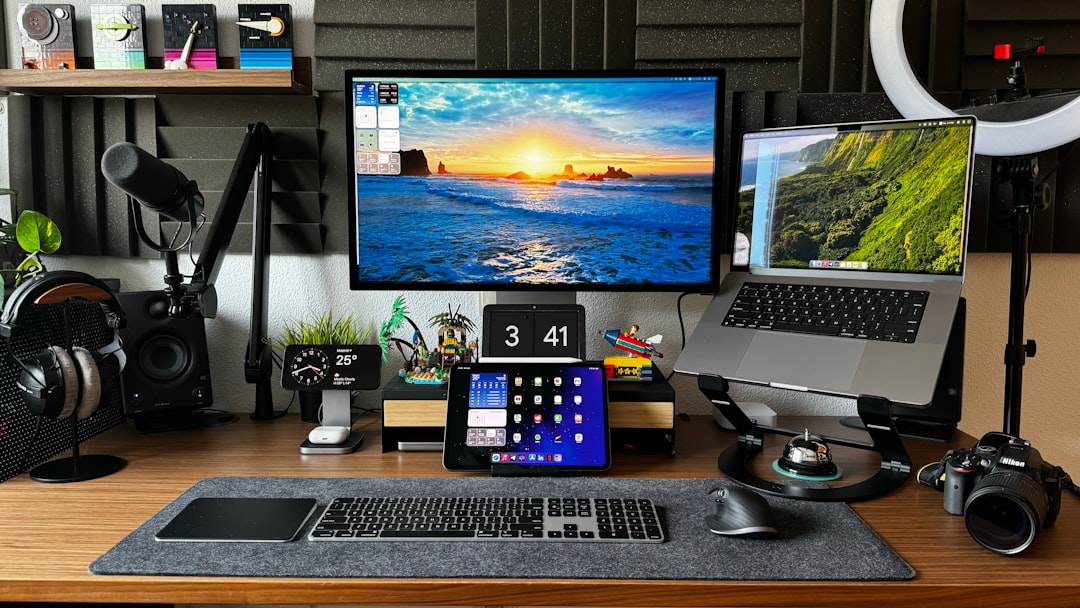
Last winter, a friend of mine — a mid-level software developer with zero server experience — decided he was done paying $15/month for cloud storage and NAS subscription fees. He bought a used mini PC, spent two weekends wrestling with Linux, and ended up with a fully functional home server for under $180. Six months later, he’s hosting his own media library, personal cloud, and even a game server for his friends. Was it worth the headache? Absolutely — but only because he did the math first. Let’s dig into whether a mini PC home server DIY build actually saves you money in 2026, and what your realistic options look like depending on your budget and goals.
🖥️ Why Mini PCs Have Become the Go-To Home Server Platform in 2026
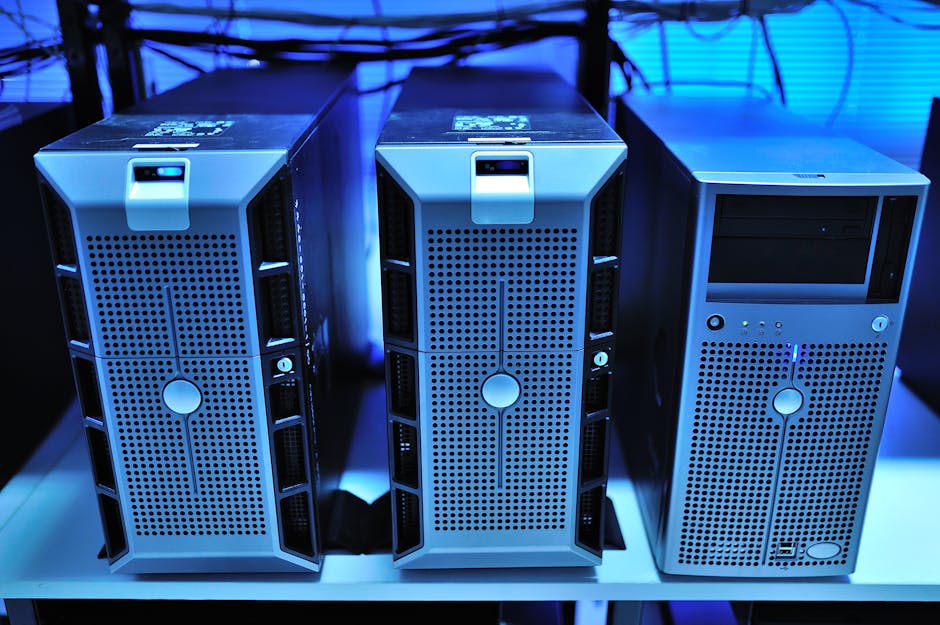
Mini PCs have had a genuine glow-up over the past few years. What used to be underpowered, overheated little boxes are now genuinely capable machines — largely thanks to AMD Ryzen 7000 series embedded chips and Intel N-series (Alder/Meteor Lake) processors that sip power while delivering respectable compute. In 2026, the sweet spot for home server builds sits squarely in the mini PC category for most hobbyists, largely because:
- Idle power draw is typically 6–15W, compared to 30–80W for traditional ATX builds — a massive electricity cost difference over a year of 24/7 operation.
- They’re physically small, meaning no dedicated server closet required.
- Refurbished business mini PCs (think Lenovo ThinkCentre, HP EliteDesk, Dell OptiPlex Micro) hit the secondary market in huge volumes and offer serious bang for buck.
- Modern mini PCs often include dual NVMe slots, 2.5GbE NICs, and up to 64GB RAM support out of the box.
💰 Real Cost Breakdown: New vs. Refurbished vs. Budget SBC Alternatives
Let’s get concrete. Here’s what a realistic 2026 mini PC home server actually costs across three tiers:
Tier 1 — Budget Build (Refurbished, ~$120–$200 total)
A refurbished HP EliteDesk 800 G6 Mini or Lenovo ThinkCentre M90q Gen 2 from eBay or a certified refurb seller typically runs $90–$140 for the barebones unit with 8GB RAM and a 256GB SSD already included. Add a 4TB 2.5″ HDD for external or internal expansion (~$60–$70), and you’re fully operational for around $160–$210. These machines have Intel Core i5-10th/11th gen chips, handle TrueNAS SCALE or Proxmox beautifully, and draw under 15W at idle.
Tier 2 — Mid-Range Build (New Mini PC, ~$300–$500 total)
Brands like Beelink, Minisforum, and ASUS NUC Pro successors dominate this space in 2026. A Beelink EQ14 (Intel N150) or Minisforum UM790 Pro (AMD Ryzen 9 7940HS) runs $180–$380 new depending on RAM/storage config. Adding 2x 8TB HDDs in an external enclosure brings total investment to $380–$550. This tier is for people who want to run multiple VMs, Docker containers, Jellyfin media server, and Nextcloud simultaneously without breaking a sweat.
Tier 3 — Premium / NAS-Hybrid Build (~$600–$900+)
If you’re going deep — Plex 4K transcoding, home automation hub, self-hosted AI models (yes, people are running local LLaMA/Mistral instances at home in 2026), and Wireguard VPN — you’re looking at something like the Minisforum MS-A1 or a custom N100/Ryzen build with ECC-capable RAM, a proper PCIe NVMe RAID, and 10GbE networking. Budget $600–$950 all-in. Still cheaper than a commercial Synology DS923+ NAS plus subscription fees over two years.
📊 Annual Running Cost: The Number People Always Forget
This is where the real math lives. A home server running 24/7 is always-on infrastructure, and electricity isn’t free. Let’s assume the US average residential rate of $0.17/kWh in 2026 (EPA data, varies by state):
- 10W idle mini PC: ~$15/year in electricity
- 25W mid-range build: ~$37/year
- 60W premium/VM-heavy build: ~$89/year
- Old desktop repurposed as server (80–120W): ~$120–$180/year — often more expensive than just buying a mini PC
Compare that to popular cloud alternatives: Google One 2TB is $99.99/year, Plex Pass is $59.99/year, and a basic Synology C2 backup subscription runs $69.99/year — and those don’t give you VPN, self-hosted apps, or local AI capability. The math tilts toward DIY pretty fast once you’re past the 18-month mark.
🌍 Real-World Examples: What People Are Actually Building in 2026
On Reddit’s r/homelab and r/selfhosted communities — both significantly more active in 2026 than just two years ago — the most common builds reported this year include:
- South Korea: Beelink SEi12 Pro builds are wildly popular due to Korean e-commerce pricing, often purchased through Coupang Rocket. Community users report full builds (TrueNAS + Nextcloud + Jellyfin) for under ₩280,000 (~$210 USD).
- Germany/EU: Due to high energy costs (~€0.31/kWh average), ultra-low-power builds using Intel N100 mini PCs dominate. The Trigkey G5 N100 at ~€150 is a top seller on Amazon.de, with users specifically citing power efficiency as the deciding factor.
- United States: The refurbished enterprise mini PC market is booming. HP’s G6/G8 Micro series units are flooding secondary markets as companies refresh hardware cycles. Average reported all-in cost on r/homelab for functional NAS-replacement builds: $185.
- Japan: Mini ITX builds remain more culturally popular than pure mini PCs, but Minisforum’s Japan market presence has grown considerably. Japanese builders tend to prioritize silent operation (acoustics-first design philosophy).
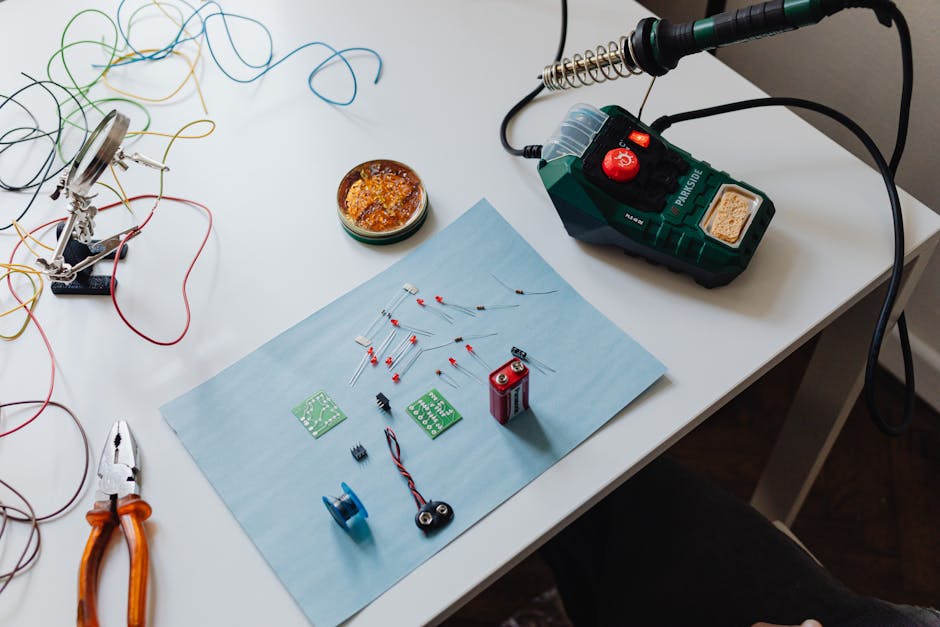
⚠️ Hidden Costs and Realistic Gotchas
Before you hit “Buy Now,” here’s what the YouTube tutorials often gloss over:
- Learning curve time cost: Setting up TrueNAS, Proxmox, or even plain Ubuntu Server takes real hours — realistically 10–20 hours for a beginner. Factor in your time’s value honestly.
- Drive costs dominate: The mini PC is often the cheapest component. Storage is where budgets balloon. HDDs are still the best value per TB, but SSDs for boot drives and caching add up.
- UPS (Uninterruptible Power Supply): If you care about data integrity, a basic APC BE600M1 UPS (~$65) is non-negotiable. This is a real and often-forgotten line item.
- Backup strategy: A home server is NOT a backup. You still need offsite backup (Backblaze B2 runs ~$6/TB/month), which is a recurring cost.
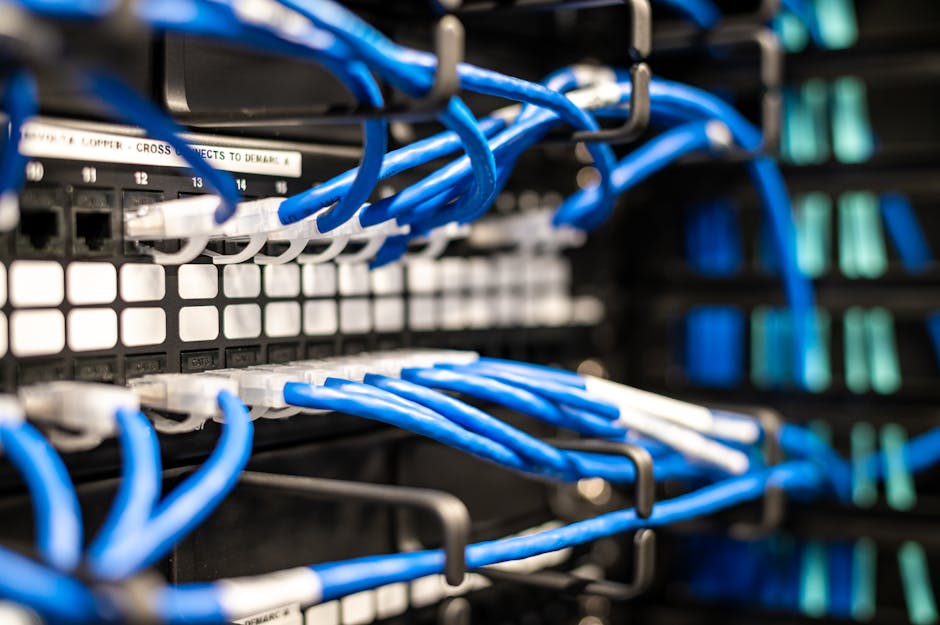
- Network infrastructure: If you’re serious, you’ll want a managed switch and probably a better router. That’s a potential $80–$200 rabbit hole.
🔄 Realistic Alternatives If DIY Feels Like Too Much
Not everyone wants to spend weekends in terminal windows, and that’s completely valid. Here are the most sensible 2026 alternatives:
- Synology DS223 or DS423+ NAS: Plug-and-play, excellent app ecosystem (DSM 8.x in 2026), and genuinely beginner-friendly. Higher upfront cost ($300–$600 without drives) but dramatically lower setup friction.
- Terramaster F4-424 Pro: Strong mid-range NAS with Intel N95 chip, solid ZFS support, and now with better community support than 2024 units.
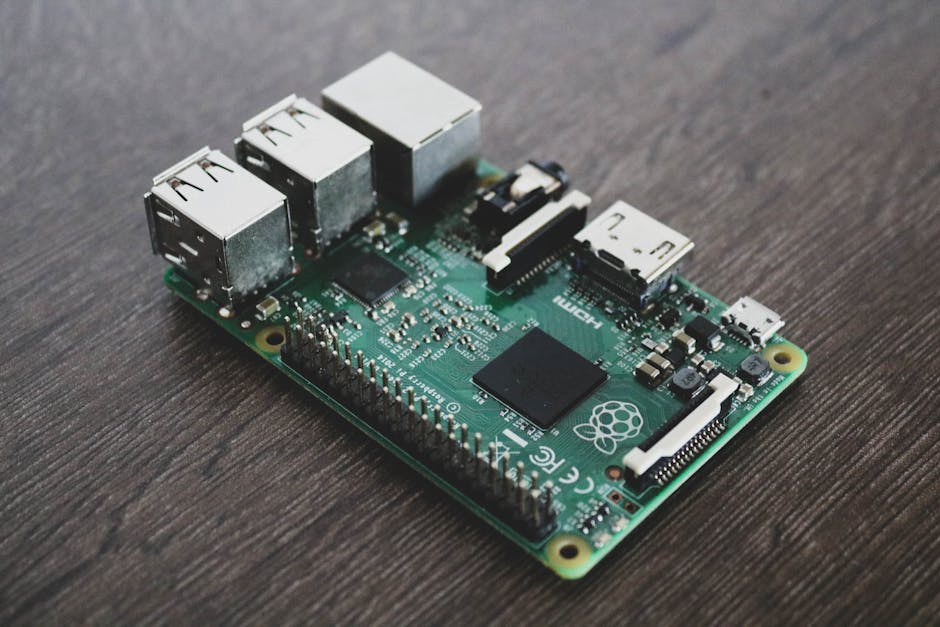
- Hybrid approach: Use a budget mini PC for active services (Nextcloud, Plex) and a cheap Raspberry Pi 5 ($80) as a dedicated network-level ad blocker (Pi-hole) and DNS resolver. Split the workload, minimize single points of failure.
- Just pay for cloud (no shame!): If you use less than 2TB of storage and don’t need self-hosted apps, Google One or iCloud+ remains genuinely the most cost-effective option when you account for your time and complexity.
The decision really comes down to three factors: how much storage you need, how much control you want over your data, and how comfortable you are with the learning curve. If all three push toward DIY, a mini PC home server in 2026 is a genuinely excellent investment that pays for itself within 12–24 months for most users.
Editor’s Comment : I’ve watched the mini PC home server space evolve considerably, and 2026 is honestly the best time to get started — hardware is cheaper, software like TrueNAS SCALE and Proxmox has matured dramatically, and the community resources are richer than ever. My personal recommendation? Start with a $120 refurbished business mini PC, run it for three months, learn what you actually need, then upgrade. The worst thing you can do is over-spec on day one and never use half the hardware you bought. Start small, iterate deliberately, and let your actual use case drive your build.
태그: [‘mini PC home server’, ‘DIY home server 2026’, ‘home server cost comparison’, ‘TrueNAS Proxmox setup’, ‘self-hosted NAS alternative’, ‘mini PC power consumption’, ‘homelab beginner guide’]