Picture this: it’s late 2025, and a mid-sized automotive parts manufacturer in Stuttgart is scrambling to prototype a complex cooling bracket. Their engineer has three quotes on the desk — one for SLS, one for SLA, and one for FDM — and the prices are wildly different. He has no idea why. Sound familiar? If you’ve ever stared at a 3D printing spec sheet feeling like you’re reading ancient Sanskrit, you’re in good company. Let’s break this down together, because the differences between these three industrial powerhouses are not just technical trivia — they can make or break your production timeline and budget.
What Are We Actually Talking About? A Quick Orientation
Before we dive into the deep end, let’s set the stage. SLS (Selective Laser Sintering), SLA (Stereolithography), and FDM (Fused Deposition Modeling) are the three dominant industrial additive manufacturing technologies in 2026. Each uses a fundamentally different physical process to build objects layer by layer — and that process defines everything from material compatibility to surface finish to cost per part.
Think of it like cooking methods: you can boil, bake, or fry a potato, and you’ll get three very different results. Same raw material, completely different outcomes. 3D printing works the same way.
SLS (Selective Laser Sintering): The Powder Bed Powerhouse
How it works: A high-powered CO₂ laser selectively fuses powdered material — typically nylon (PA12, PA11), TPU, or increasingly in 2026, advanced composite powders — layer by layer. Unfused powder acts as a natural support structure, which is one of SLS’s biggest advantages.
Key data points for 2026:
- Layer resolution: typically 80–120 microns
- Build volume: up to 750 × 550 × 550 mm on industrial systems (e.g., EOS P 770)
- Tensile strength of PA12 SLS parts: ~48 MPa (nearly isotropic — similar strength in all directions)
- Average industrial build cost: $15–$40 per part at volume
- Post-processing: powder removal, media blasting, optional dyeing or coating
- Lead time: 24–72 hours per build cycle
Best for: Functional prototypes, end-use parts with complex geometries, living hinges, snap-fits, and assemblies that need near-isotropic mechanical properties. The automotive and aerospace sectors in 2026 are particularly fond of SLS for ductwork, brackets, and interior components.
The honest downside: Surface finish straight out of the machine is grainy (think fine sandpaper). Color options are limited without post-processing, and the machines themselves — think EOS, Farsoon, or 3D Systems — represent a capital investment starting around $200,000 USD.
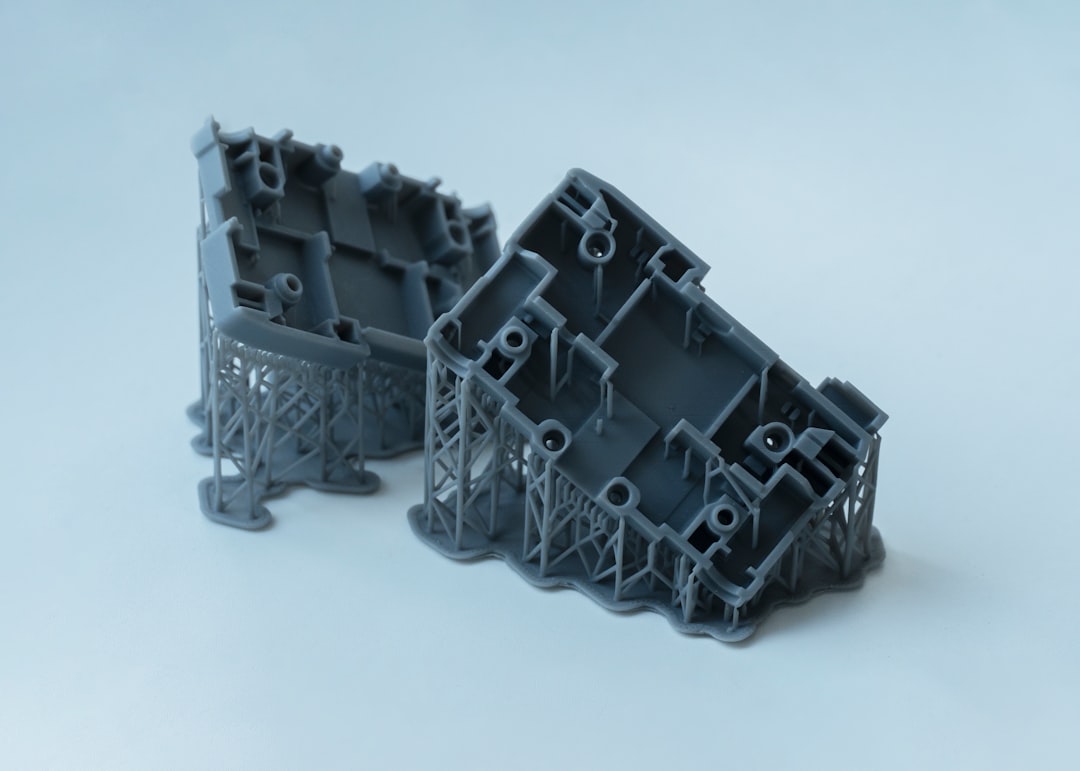
SLA (Stereolithography): The Precision Artist
How it works: A UV laser (or in the case of MSLA/LCD variants now widely adopted industrially in 2026, a UV light array) cures a liquid photopolymer resin layer by layer. The result is parts with exceptional dimensional accuracy and smooth surface finish.
Key data points for 2026:
- Layer resolution: 25–100 microns (some dental/medical systems reach 10 microns)
- Build volume: typically 145 × 145 × 175 mm on desktop industrial units; up to 1500 × 750 × 550 mm on large-format systems like the 3D Systems ProX 950
- Surface roughness (Ra): 0.2–1.5 µm — the smoothest of the three methods
- Material tensile strength: 38–65 MPa depending on resin formulation
- Average industrial build cost: $20–$80 per part (resin is expensive)
- Post-processing: IPA washing, UV post-curing — mandatory, not optional
Best for: Jewelry masters, dental models, medical devices, transparent optical components, and any application where surface aesthetics and tight tolerances (±0.1 mm or better) matter more than toughness. In 2026, the medical device sector has become SLA’s largest growth market by a wide margin.
The honest downside: SLA parts are brittle compared to SLS or FDM engineering-grade materials. They’re also anisotropic — meaning they’re weaker along the Z-axis (build direction). Long-term UV exposure can cause yellowing and degradation. Not your friend for outdoor functional applications.
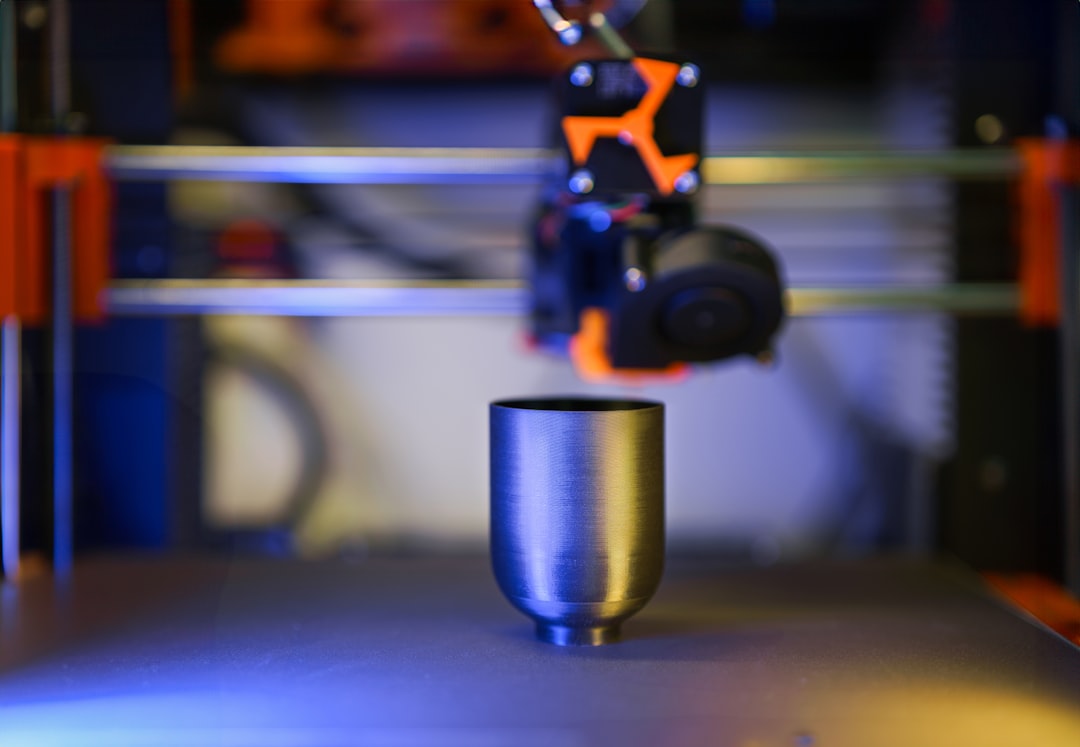
FDM (Fused Deposition Modeling): The Workhorse Everyone Underestimates
How it works: A thermoplastic filament is melted through a heated nozzle and deposited layer by layer onto a build platform. It’s the most intuitive of the three to understand — essentially a very precise hot glue gun drawing cross-sections.
Key data points for 2026:
- Layer resolution: 50–330 microns (industrial systems), down to 20 microns on specialized printers
- Build volume: up to 1000 × 1000 × 1000 mm on large-format industrial FDM (e.g., Stratasys Fortus 900mc)
- Material range: ABS, PLA, PETG, Nylon, PC, PEEK, ULTEM 9085 (aerospace-certified), carbon fiber composites
- ULTEM 9085 tensile strength: ~72 MPa — the strongest widely-used FDM material
- Average industrial build cost: $5–$30 per part (filament is cost-efficient)
- Machine entry point: industrial Markforged/Stratasys systems from ~$30,000 USD
Best for: Large structural parts, tooling jigs and fixtures, low-volume production parts where material certification matters (ULTEM for aerospace), and situations where cost-per-part is the primary constraint. In 2026, continuous fiber FDM (Markforged’s Continuous Fiber Fabrication, or CFF) has matured significantly, allowing carbon fiber, Kevlar, and fiberglass to be embedded directly — pushing FDM into structural applications once reserved for machined metals.
The honest downside: Layer adhesion creates anisotropy (Z-direction weakness). Visible layer lines require post-processing for aesthetic parts. Support structures are needed for overhangs and must be manually removed, adding labor cost and sometimes leaving surface marks.
Real-World Applications: Who’s Using What in 2026?
Let’s ground this in actual industry use cases:
- BMW Group (Germany) — Uses SLS extensively at their Munich AM campus for interior trim prototypes and custom jigs, producing over 10,000 parts/year via SLS powder bed systems.
- Align Technology (USA) — The company behind Invisalign runs one of the world’s largest SLA/DLP production facilities, printing millions of dental models annually. Their 2026 facility in Juárez, Mexico produces approximately 17 million unique parts per year.
- Korea Aerospace Research Institute (KARI) — Employs high-temp FDM (PEEK and ULTEM) for satellite component housings and thermal shields, where material certification and high strength-to-weight ratio are non-negotiable.
- Decathlon (France) — Uses FDM in-house for tooling jigs and product development iterations across their 67 in-house brands, dramatically reducing tooling lead times from weeks to days.
- GE Additive (Global) — While primarily known for metal printing, their polymer SLS division serves medical and industrial clients needing complex ducting and housings with consistent mechanical performance.
The Side-by-Side Comparison You’ve Been Waiting For
| Criteria | SLS | SLA | FDM |
|---|---|---|---|
| Surface Finish | Medium (grainy) | Excellent (smooth) | Low–Medium (visible layers) |
| Mechanical Strength | High (isotropic) | Medium (brittle) | High (with fiber: very high) |
| Support Structures | Not needed | Required | Required |
| Material Variety | Medium | Medium (resin-based) | Very Wide |
| Cost per Part | Medium–High | High | Low–Medium |
| Ideal Use Case | Functional complex parts | High-detail aesthetic/medical | Large parts, tooling, structural |
So, Which One Should You Actually Choose?
Here’s my honest, realistic take depending on your situation:
- You’re a startup with a tight budget prototyping a functional consumer product? Start with FDM. Use PETG or Nylon for functional tests. Move to SLS only when you need production-quality parts with clean geometry.
- You’re in medical devices, dental, or jewelry? SLA is your baseline. Budget for good post-curing equipment and resin storage — half of SLA’s quality comes from proper curing protocol.
- You’re in automotive, aerospace, or industrial manufacturing? SLS for polymer structural parts; FDM with ULTEM or continuous fiber for certified structural applications. Don’t default to SLA unless aesthetics are the primary spec.
- You need to outsource? In 2026, platforms like Xometry, Hubs, and Korea’s own MakerAll have mature industrial SLS and SLA bureaus with 5–7 day turnaround. You don’t need to own the machine to access the technology.
- You want to invest in in-house capability? FDM has the lowest barrier to entry and widest material compatibility. Industrial Markforged or Bambu Lab X1E systems in 2026 offer impressive capability at sub-$10,000 price points for SME operations.
The 2026 Trend You Shouldn’t Ignore
One development worth watching: Multi-process hybrid systems are becoming commercially viable in 2026. Companies like Renishaw and DMG Mori are shipping machines that combine FDM-style deposition with CNC milling in a single build chamber, effectively eliminating the surface finish disadvantage. Meanwhile, SLS material innovation — particularly in TPU elastomers and glass-filled PA12 — is closing the gap with injection molding in terms of surface quality. The lines between these three methods are blurring, but understanding their foundations will still give you a decisive edge in specifying the right technology for the right job.
The bottom line? There’s no universally “best” method. There’s only the best method for your specific geometry, material requirement, volume, and budget. Start with those four constraints, and the right technology choice becomes surprisingly clear.
Editor’s Comment : After years of watching engineers default to FDM just because it’s familiar (and watching them regret it when SLS would have saved them three weeks of post-processing), I’ve come to believe that the most expensive decision in 3D printing isn’t the machine — it’s choosing the wrong process. Bookmark this guide, bring it to your next supplier meeting, and push back when someone quotes you a price without explaining why they chose that technology. In 2026, with the wealth of options available, “that’s what we always use” is simply not good enough reasoning anymore.
태그: [‘industrial 3D printing 2026’, ‘SLS vs SLA vs FDM’, ‘additive manufacturing comparison’, ‘selective laser sintering’, ‘stereolithography industrial’, ‘FDM ULTEM aerospace’, ‘3D printing technology guide’]