Picture this: It’s 2019, and a surgeon in Seoul is holding a custom-fitted titanium implant that took three weeks to manufacture. Fast forward to today — in 2026, that same implant can now be replicated using a next-generation high-strength polymer composite, printed overnight, and with mechanical properties that rival metal. That’s not science fiction. That’s Tuesday morning in the world of advanced 3D printing materials.
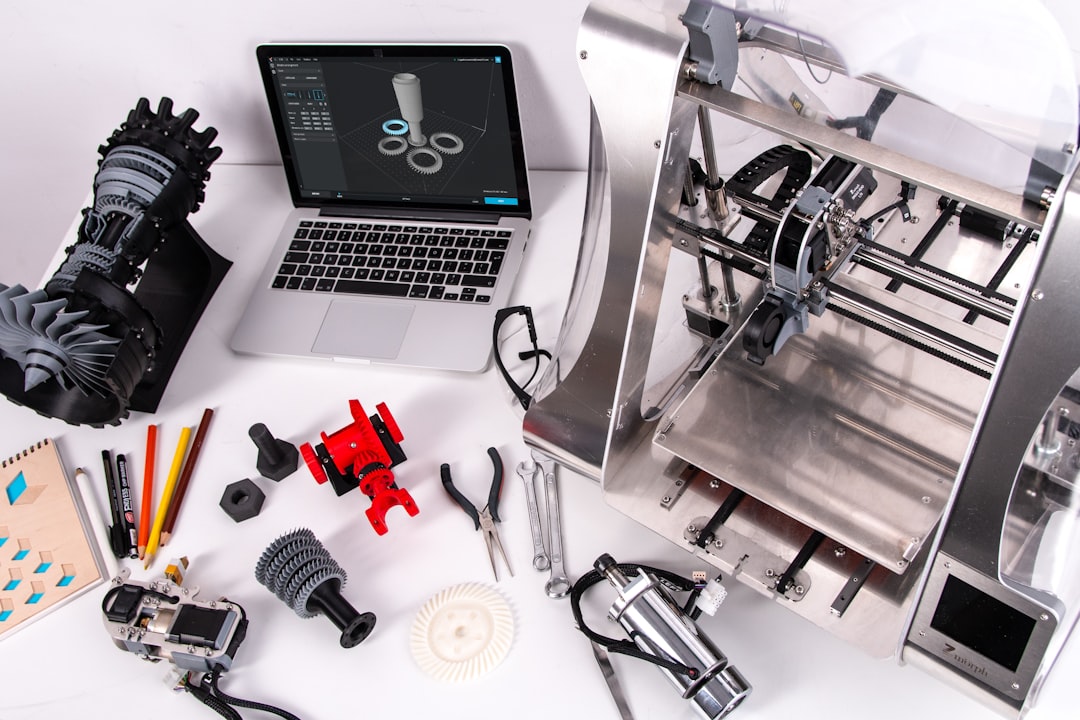
If you’ve been loosely following the 3D printing space, you might still associate it with desktop hobbyist machines churning out plastic figurines. But the materials science revolution happening right now is something entirely different — and honestly, it’s one of the most exciting developments in manufacturing, medicine, and everyday product design that I’ve had the pleasure of tracking. Let’s dig in together.
Why Materials Were Always the Bottleneck
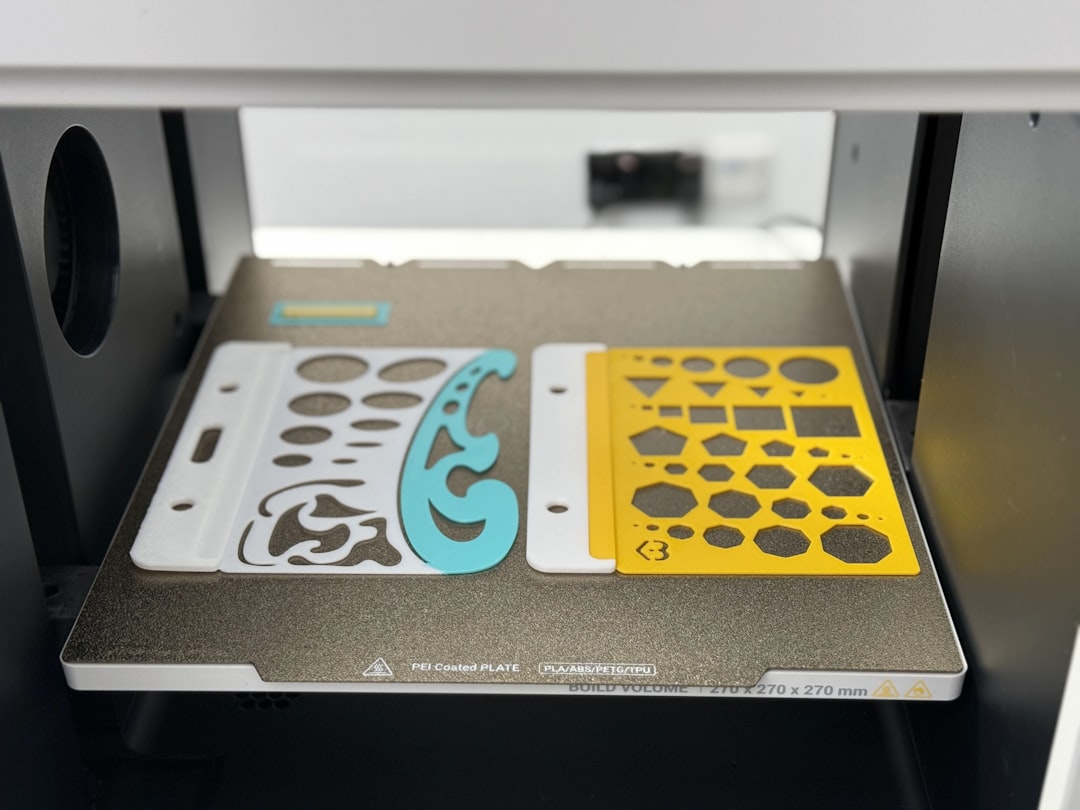
For most of 3D printing’s commercial history, the technology outpaced its materials. Printers became faster, more precise, and more affordable — but the materials you could actually print with were limited. Early FDM (Fused Deposition Modeling) filaments like basic PLA and ABS were brittle, prone to warping, and definitely not something you’d trust in a load-bearing aerospace component.
The core challenge? Polymers are inherently flexible at the molecular level, which is great for some applications but terrible when you need structural rigidity under stress. This is where the innovation in 2026 is hitting differently. Researchers and companies are no longer just selecting polymers — they’re engineering them from the ground up, embedding reinforcements and tailoring molecular architectures for specific performance profiles.
The Numbers Behind the Shift
Let’s look at some concrete data to ground this conversation:
- PEEK (Polyether Ether Ketone) composites — once reserved for aerospace and medical implants due to cost — have seen a 40% price reduction since 2023, making them increasingly viable for mid-market industrial applications. A PEEK-carbon fiber blend can now achieve tensile strengths exceeding 200 MPa, comparable to aluminum alloys.
- Continuous Fiber Reinforcement (CFR) technology, pioneered by companies like Markforged and Desktop Metal, now allows carbon fiber, Kevlar, and fiberglass to be embedded directly into printed parts during production. CFR-printed nylon parts have demonstrated up to 27x the strength of standard nylon prints.
- The global market for high-performance 3D printing polymers was valued at approximately $4.1 billion in 2025 and is projected to reach $7.8 billion by 2029, according to industry analysts — nearly doubling in under five years.
- Bio-based composite filaments reinforced with flax or hemp fibers are now achieving flexural moduli competitive with traditional glass-fiber composites, with the added benefit of being biodegradable — a major win for sustainable manufacturing initiatives in the EU and South Korea.
Meet the Star Materials of 2026
So what’s actually in the toolkit right now? Let me walk you through the heavy hitters:
1. CF-PEKK (Carbon Fiber-Reinforced Polyetherketoneketone): Think of this as PEEK’s even more thermally stable cousin. CF-PEKK can withstand continuous operating temperatures above 240°C and is being adopted aggressively in aerospace ducting and automotive under-hood components. Airbus’s supplier network has been qualifying CF-PEKK printed parts for non-structural interior brackets since late 2025.
2. Multi-material Elastomer-Rigid Composites: Polyjet and multi-material SLA technologies now allow a single print to contain zones of varying Shore hardness — from rubber-like 20A to rigid 80D — in one seamless build. This is transforming prosthetics, wearable tech housings, and custom footwear orthotics.
3. Graphene-Enhanced Nylon: Graphene’s much-hyped arrival in practical applications is finally materializing in printable filaments. Adding just 0.5–1% graphene by weight to PA12 (nylon 12) has shown improvements of 15–20% in tensile strength and a notable improvement in electrical conductivity — opening the door for printed EMI shielding components.
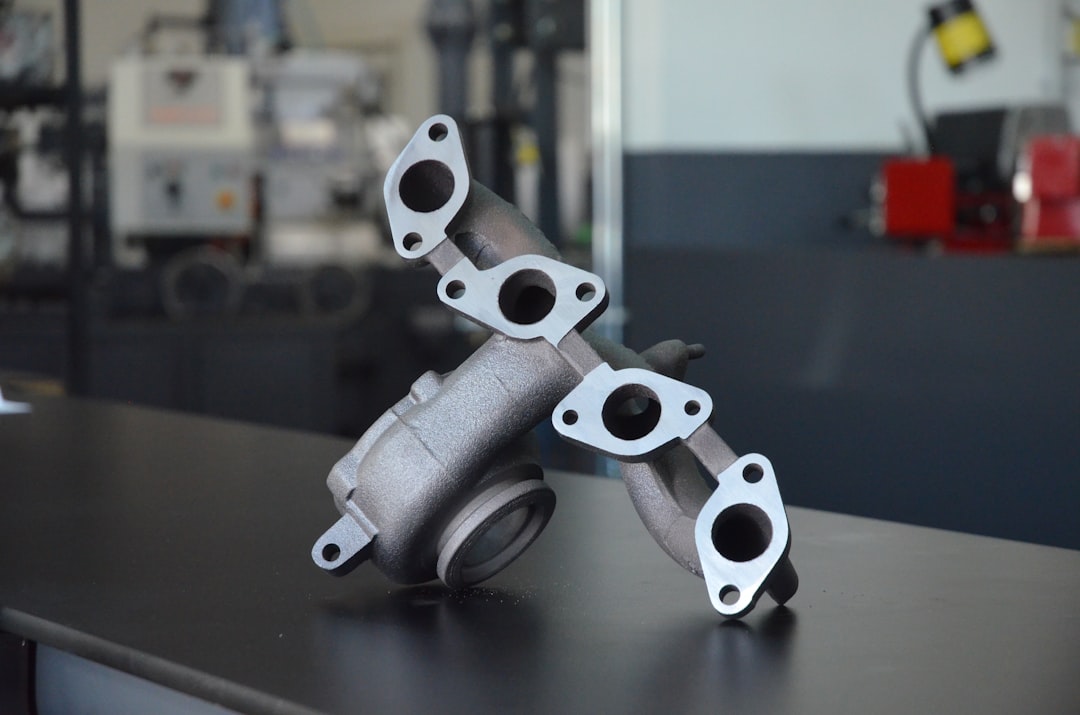
4. Metal-Polymer Hybrids via Bound Metal Deposition (BMD): While not purely polymer, BMD materials — where metal particles are suspended in a polymer binder — bridge the gap elegantly. After printing, the part is debinded and sintered, yielding nearly fully dense stainless steel, titanium, or copper components. The polymer phase is essentially a scaffold that disappears, leaving behind metal geometry impossible to achieve with traditional machining.
Global and Domestic Examples Worth Watching
Innovation in this space isn’t happening in a vacuum — it’s being driven by real organizations with real production needs.
South Korea — KAIST and Hyundai Collaboration: The Korea Advanced Institute of Science and Technology (KAIST), in partnership with Hyundai Motor Group, published findings in early 2026 demonstrating a self-reinforced polymer composite (using PA66 matrix with aligned PA66 fiber inserts) for lightweight automotive crash-absorption structures. The result? A 22% weight reduction versus injection-molded equivalents with comparable energy absorption.
USA — Impossible Objects & Boeing: Impossible Objects’ CBAM (Composite-Based Additive Manufacturing) process, which laminates carbon fiber sheets with thermoplastic powders, received qualification approval from Boeing’s supply chain for cabin component brackets in 2025. This marks one of the first certified composite-printed parts in commercial aviation history.
Germany — Evonik’s VESTAKEEP PEEK Filaments: Evonik, one of the world’s leading specialty chemicals companies, released their fourth-generation PEEK filament line in 2026, specifically tuned for open-frame industrial FDM printers. The material features improved interlayer bonding — historically the Achilles heel of printed PEEK — achieved through a proprietary surface-energy modifier added at the compounding stage.
Japan — Teijin’s Recyclable Carbon Fiber Composites: Teijin Limited has been developing thermoplastic CFRTP (Carbon Fiber Reinforced Thermoplastic) filaments that are fully recyclable — you can re-melt and reprint them. In a circular economy context, this is massive. Their pilot program with Panasonic for consumer electronics housings launched commercially in Q1 2026.
What This Means for You — Realistic Alternatives by Use Case
Here’s where I want to get practical. Not everyone is building aerospace brackets or medical implants. So let me break down what these material innovations mean across different levels of access and need:
- Hobbyists & Makers: Graphene-enhanced PLA and recycled CF-PLA are now available from mainstream filament brands at price points only 20–30% above standard PLA. If you’re printing functional mechanical parts — brackets, mounts, gears — these are genuinely worth the upgrade. You won’t get aerospace-grade performance, but you’ll get something that won’t crack under moderate stress.
- Small Businesses & Product Designers: Look into service bureaus offering Markforged or Onyx-FR prints if you need strong, lightweight end-use parts but don’t own industrial equipment. The per-part cost has come down significantly. For low-volume production runs of 10–200 units, this is often more economical than injection molding tooling.
- Engineers in Mid-Sized Manufacturers: The real conversation in 2026 is around qualification and validation pipelines. High-strength polymer composites are ready from a materials standpoint — the bottleneck is now your internal testing and certification process. Consider partnering with a materials testing lab early in design to build the data package you’ll need for approval.
- Medical Device Designers: Multi-material elastomer-rigid composites and bio-compatible PEEK variants are creating real opportunities in patient-specific devices. However, regulatory pathways (FDA 510(k) in the US, CE marking in Europe, MFDS in Korea) still require careful documentation of material traceability and print process validation. Plan for 12–18 months of regulatory groundwork alongside your technical development.
The Honest Challenges Still Ahead
I’d be doing you a disservice if I only highlighted the wins. A few realities to keep in mind:
First, anisotropy remains a fundamental challenge. Most 3D printed parts — regardless of material sophistication — are stronger in the X-Y plane than in the Z direction (layer-to-layer bonding). This isn’t insurmountable, but it requires design teams to think about build orientation from day one, not as an afterthought.
Second, post-processing complexity increases with material performance. High-temp polymers like PEKK require enclosed, actively heated build chambers to print successfully. Bound metal deposition parts need sintering furnaces. Continuous fiber parts need precise cutting mechanisms mid-print. The ecosystem cost goes up alongside the material performance.
Third, material standards are still catching up. ASTM and ISO working groups are actively developing standardized test protocols for additive-manufactured composite parts, but widespread adoption is a 3–5 year horizon. Until then, every organization is somewhat building their own qualification database.
Where to Start if You’re Ready to Explore
If this has sparked your interest and you want to dip your toes in without diving off the deep end, here’s my practical starting ladder:
- Start with a CF-nylon or carbon-fiber-infused PLA filament on your existing printer (if it has a hardened steel nozzle) — immediate, low-cost strength upgrade.
- Use online material comparison tools like Xometry’s material selector or Formlabs’ material dashboard to compare mechanical specs side-by-side for your specific load case.
- Attend (virtually or in-person) the Formnext 2026 exhibition in Frankfurt this November — it remains the single best venue globally to see cutting-edge material innovations from hundreds of vendors in one place.
- If you’re in Korea, the Korea Institute of Industrial Technology (KITECH) runs accessible workshops on advanced AM materials — excellent for SMEs looking to upskill without heavy R&D investment.
The exciting thing about being in this space in 2026 is that the gap between “research-grade breakthrough” and “something you can actually order and use” has never been smaller. Materials that were theoretical five years ago are now on purchase order forms. And that trajectory is only accelerating.
Editor’s Comment : What strikes me most about the high-strength polymer revolution isn’t just the mechanical properties — it’s the philosophical shift it represents. For decades, 3D printing was seen as a prototyping tool. Now, with materials that can genuinely compete with metals and traditional composites, the question isn’t “can we print this for production?” — it’s “why aren’t we printing this yet?” The answer, increasingly, is just inertia. And inertia, as history shows, doesn’t last forever.
태그: [‘3D printing materials 2026’, ‘high-strength polymer composites’, ‘carbon fiber reinforced printing’, ‘PEEK 3D printing’, ‘additive manufacturing innovation’, ‘composite filament technology’, ‘advanced manufacturing 2026’]